A Kodiaq Made of Paper. The modeler spent 700 hours developing and building it
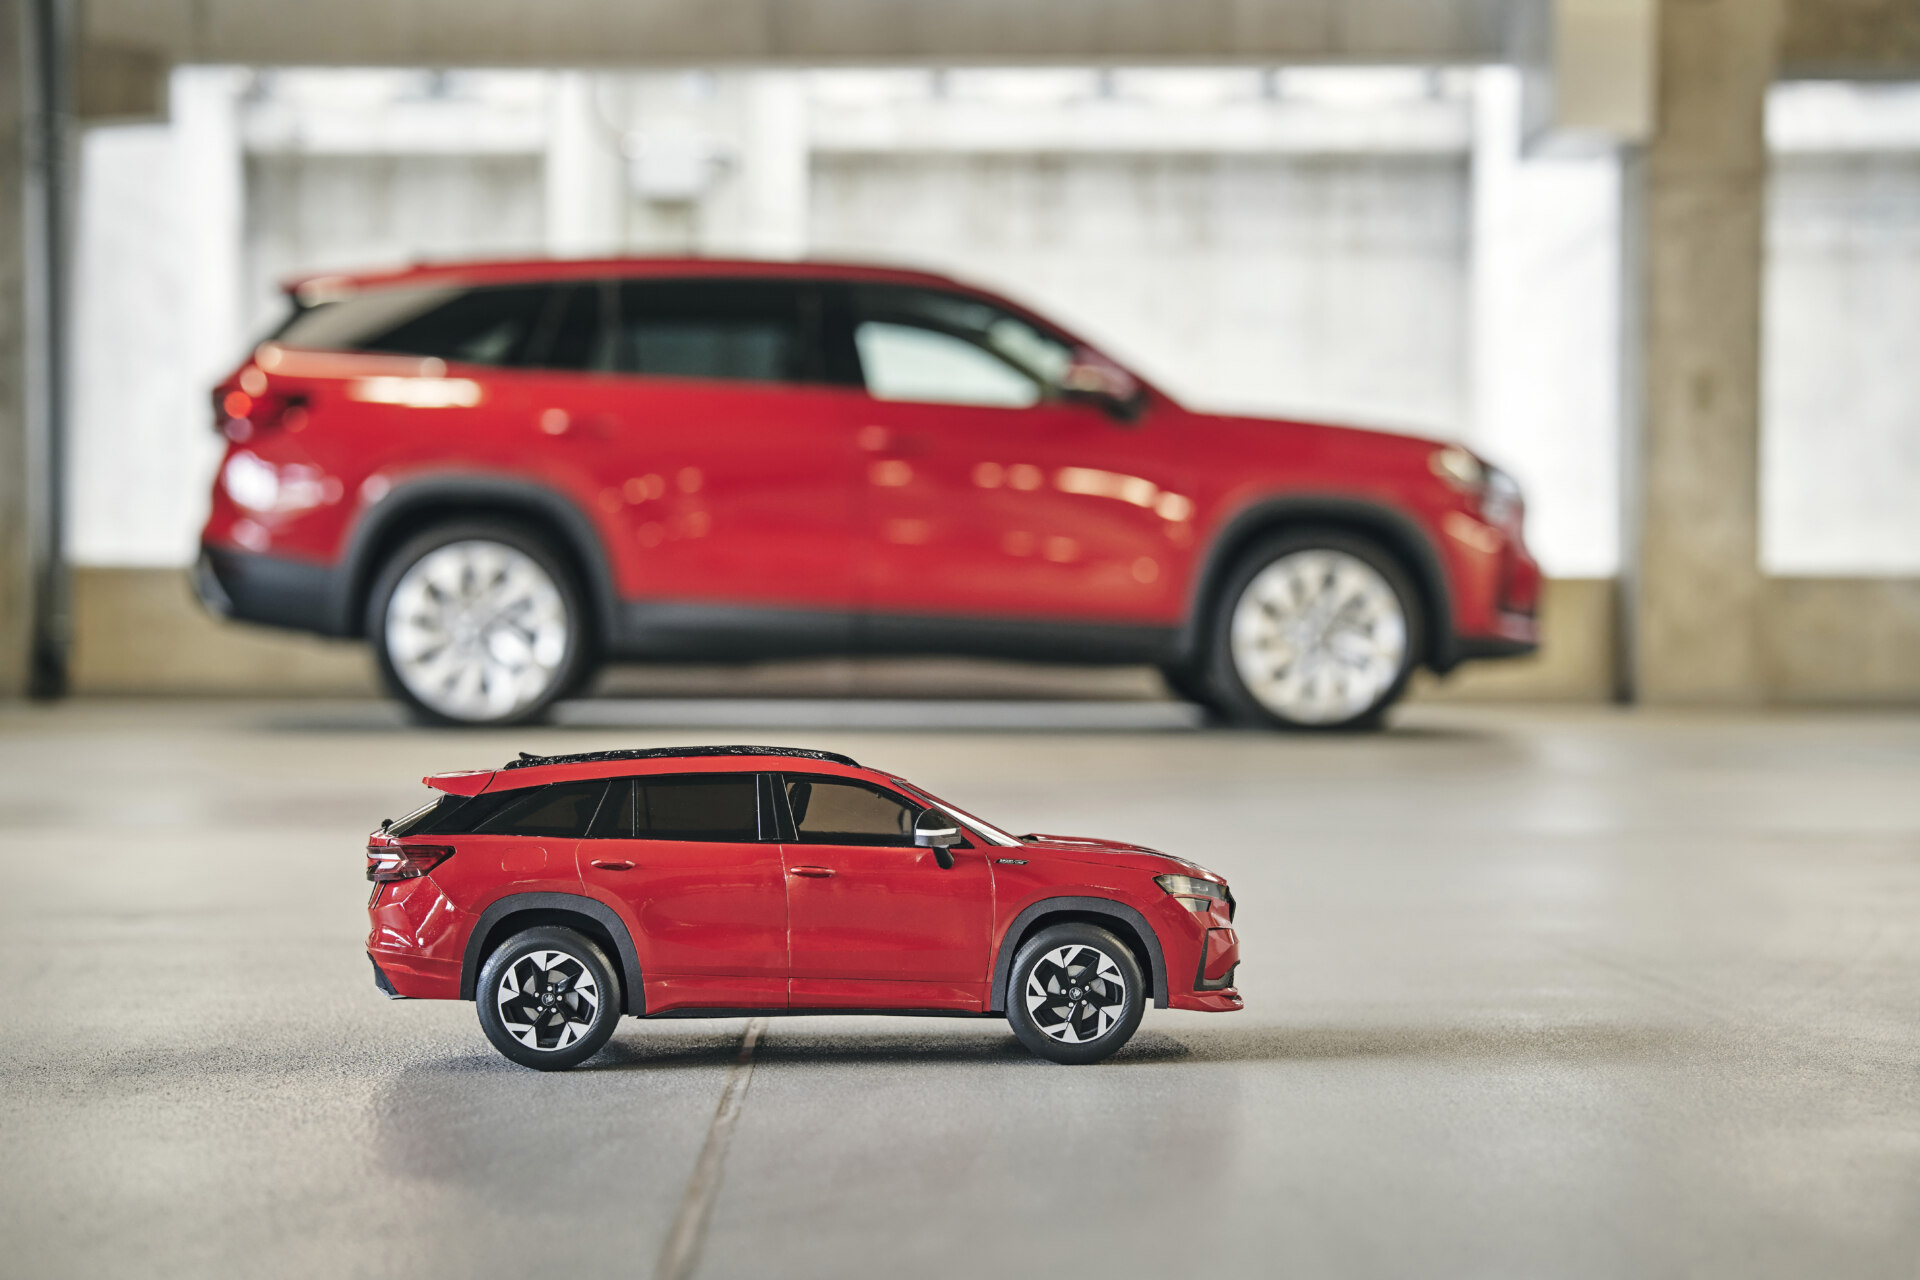
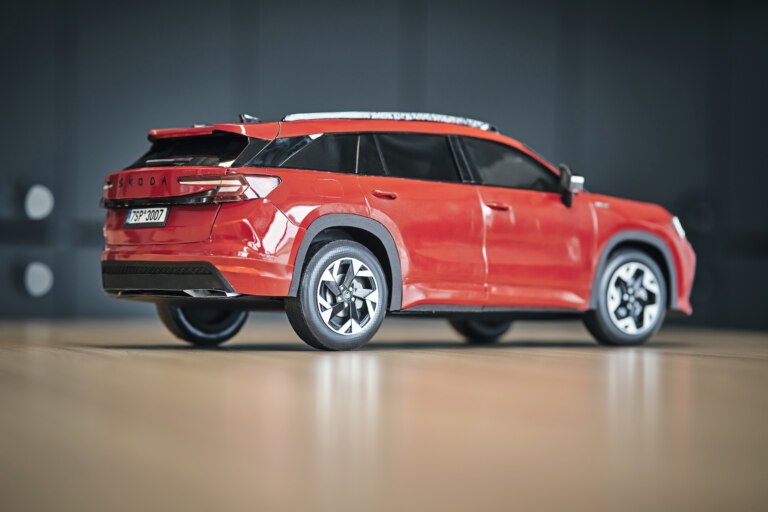
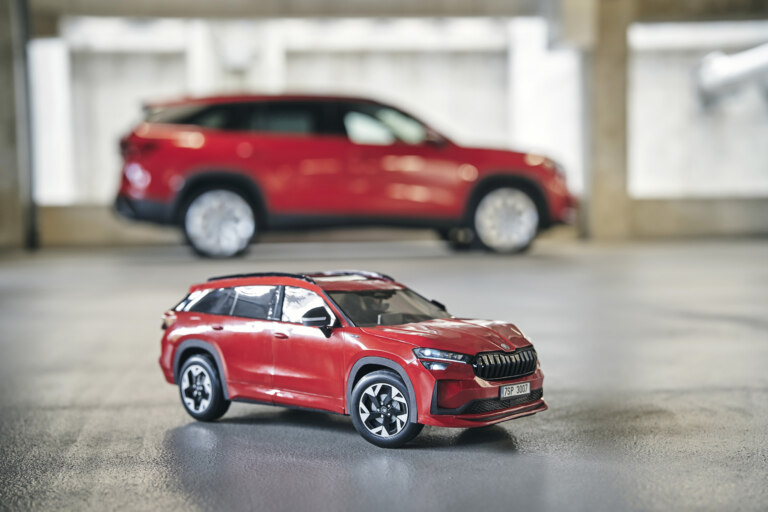
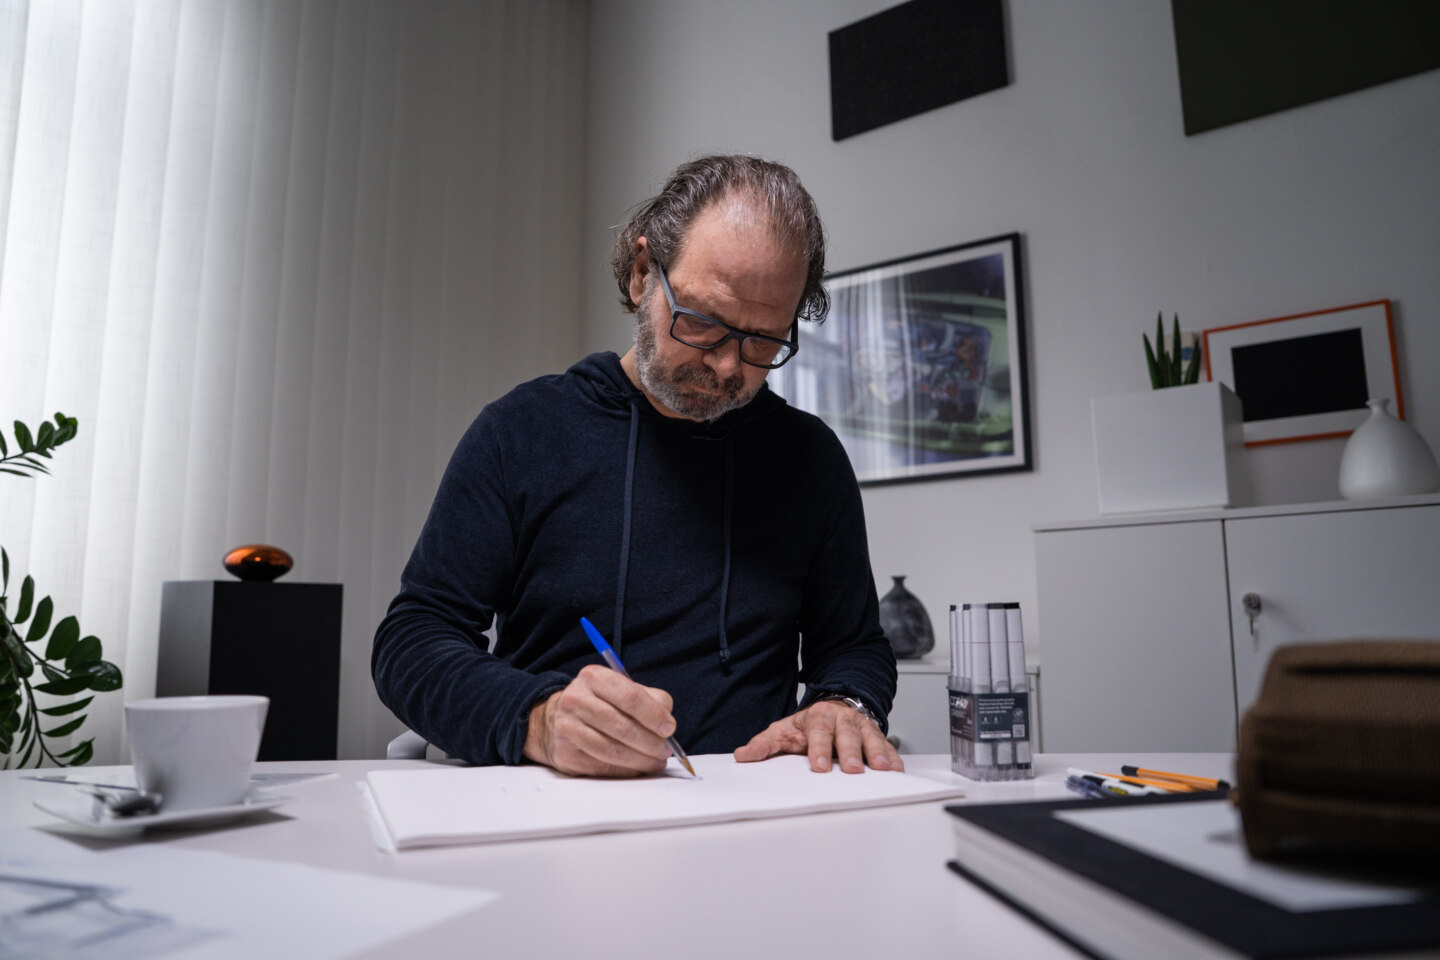
He was never really into paper cutouts. Hobby modeler Petr Seemann prefers to create paper car models entirely on his own, down to the smallest detail. He has previously built a Scala model, and now he has showcased his most elaborate creation to date at Škoda Auto: the Kodiaq SUV. Take a look at how it was made.
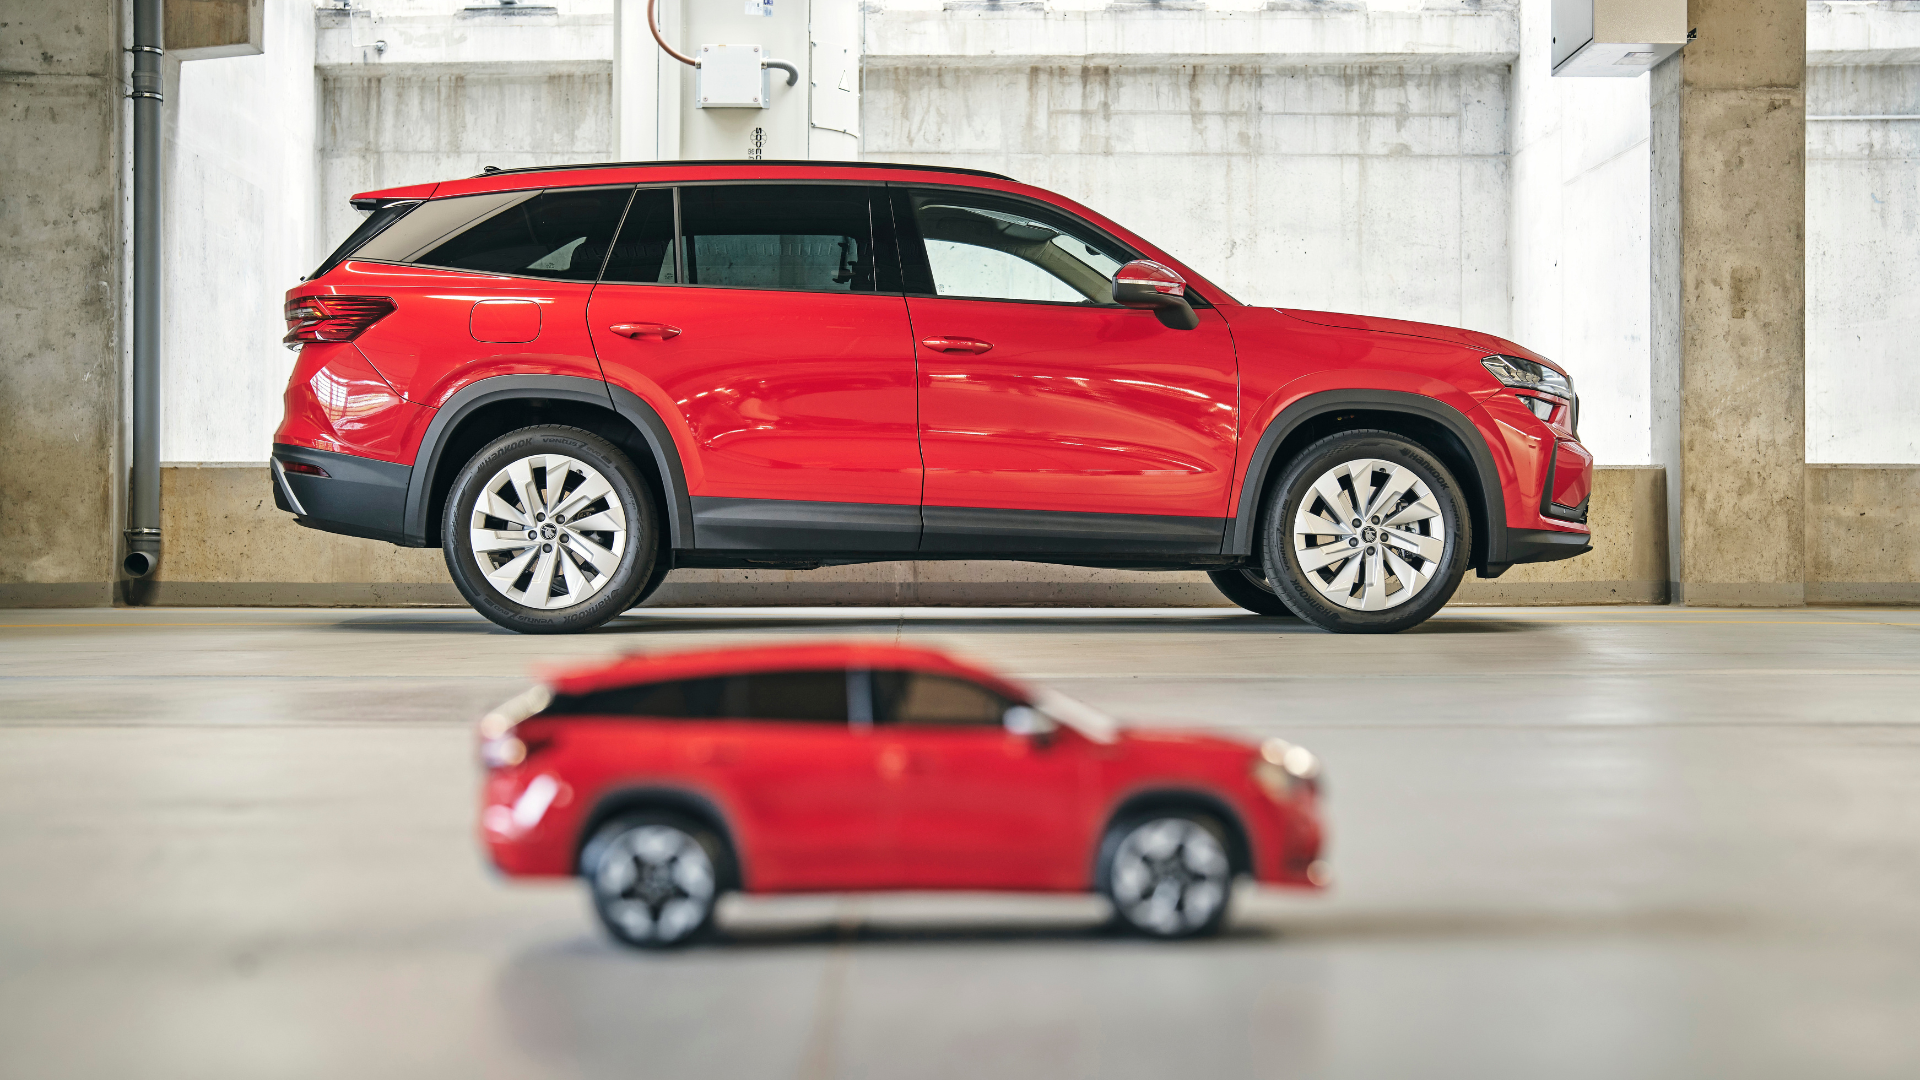
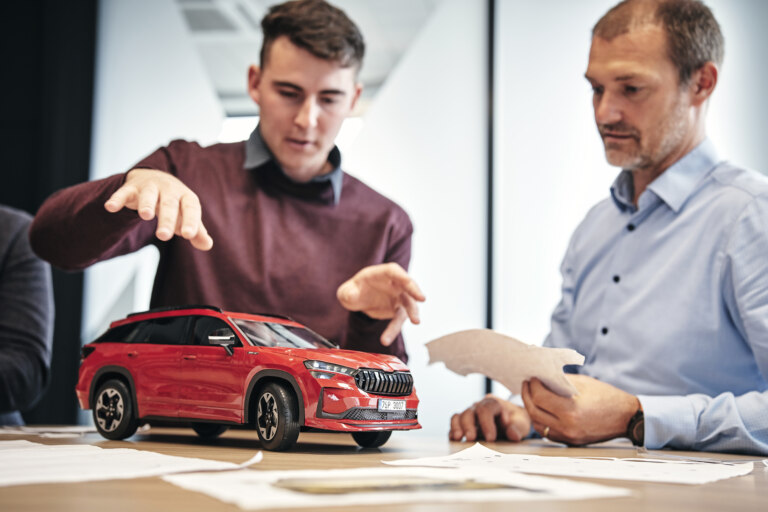
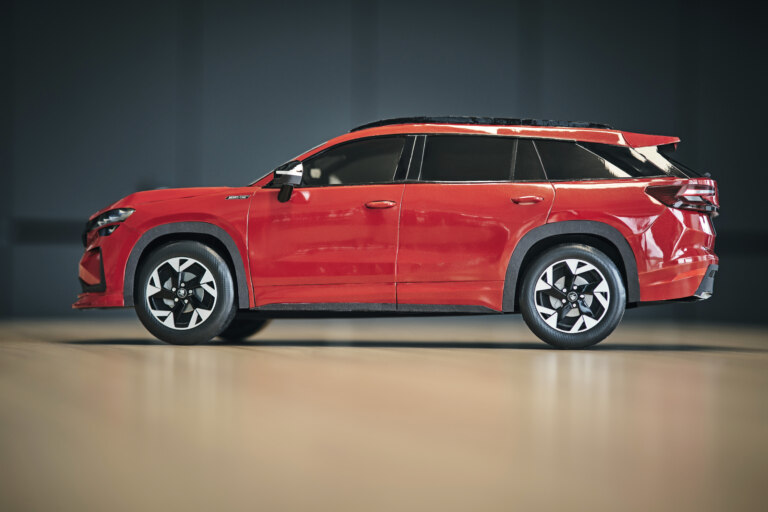
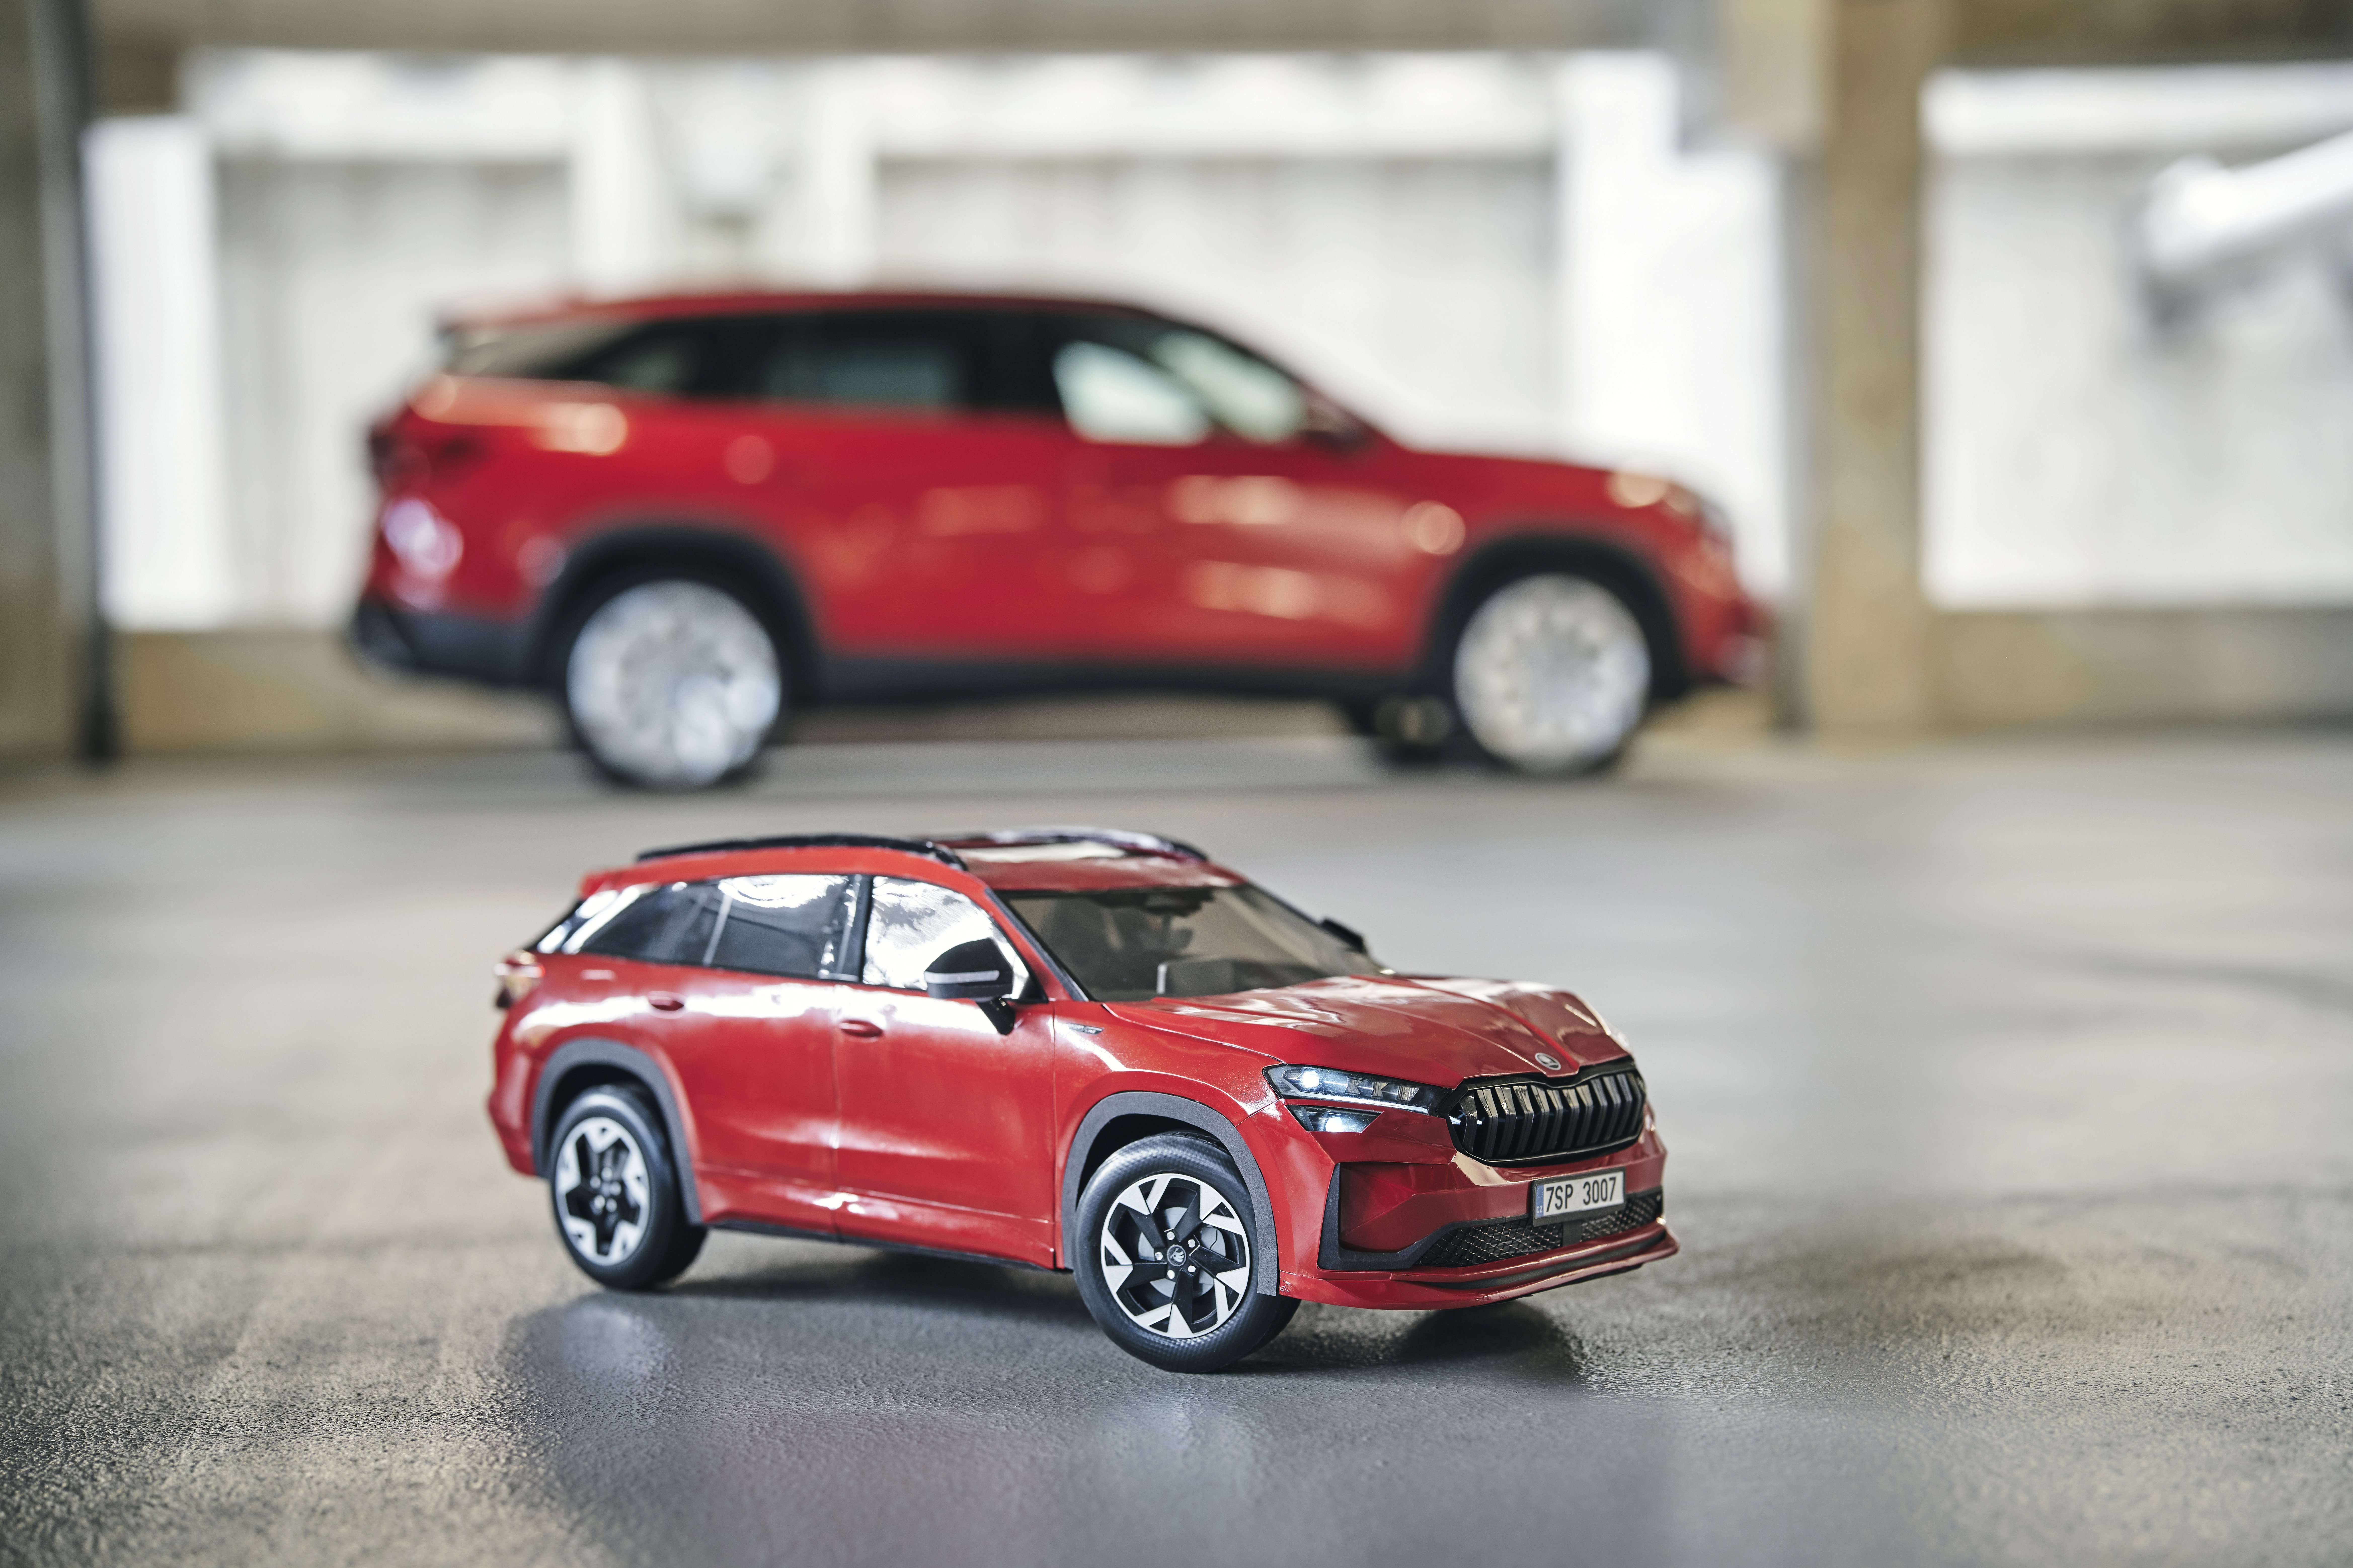
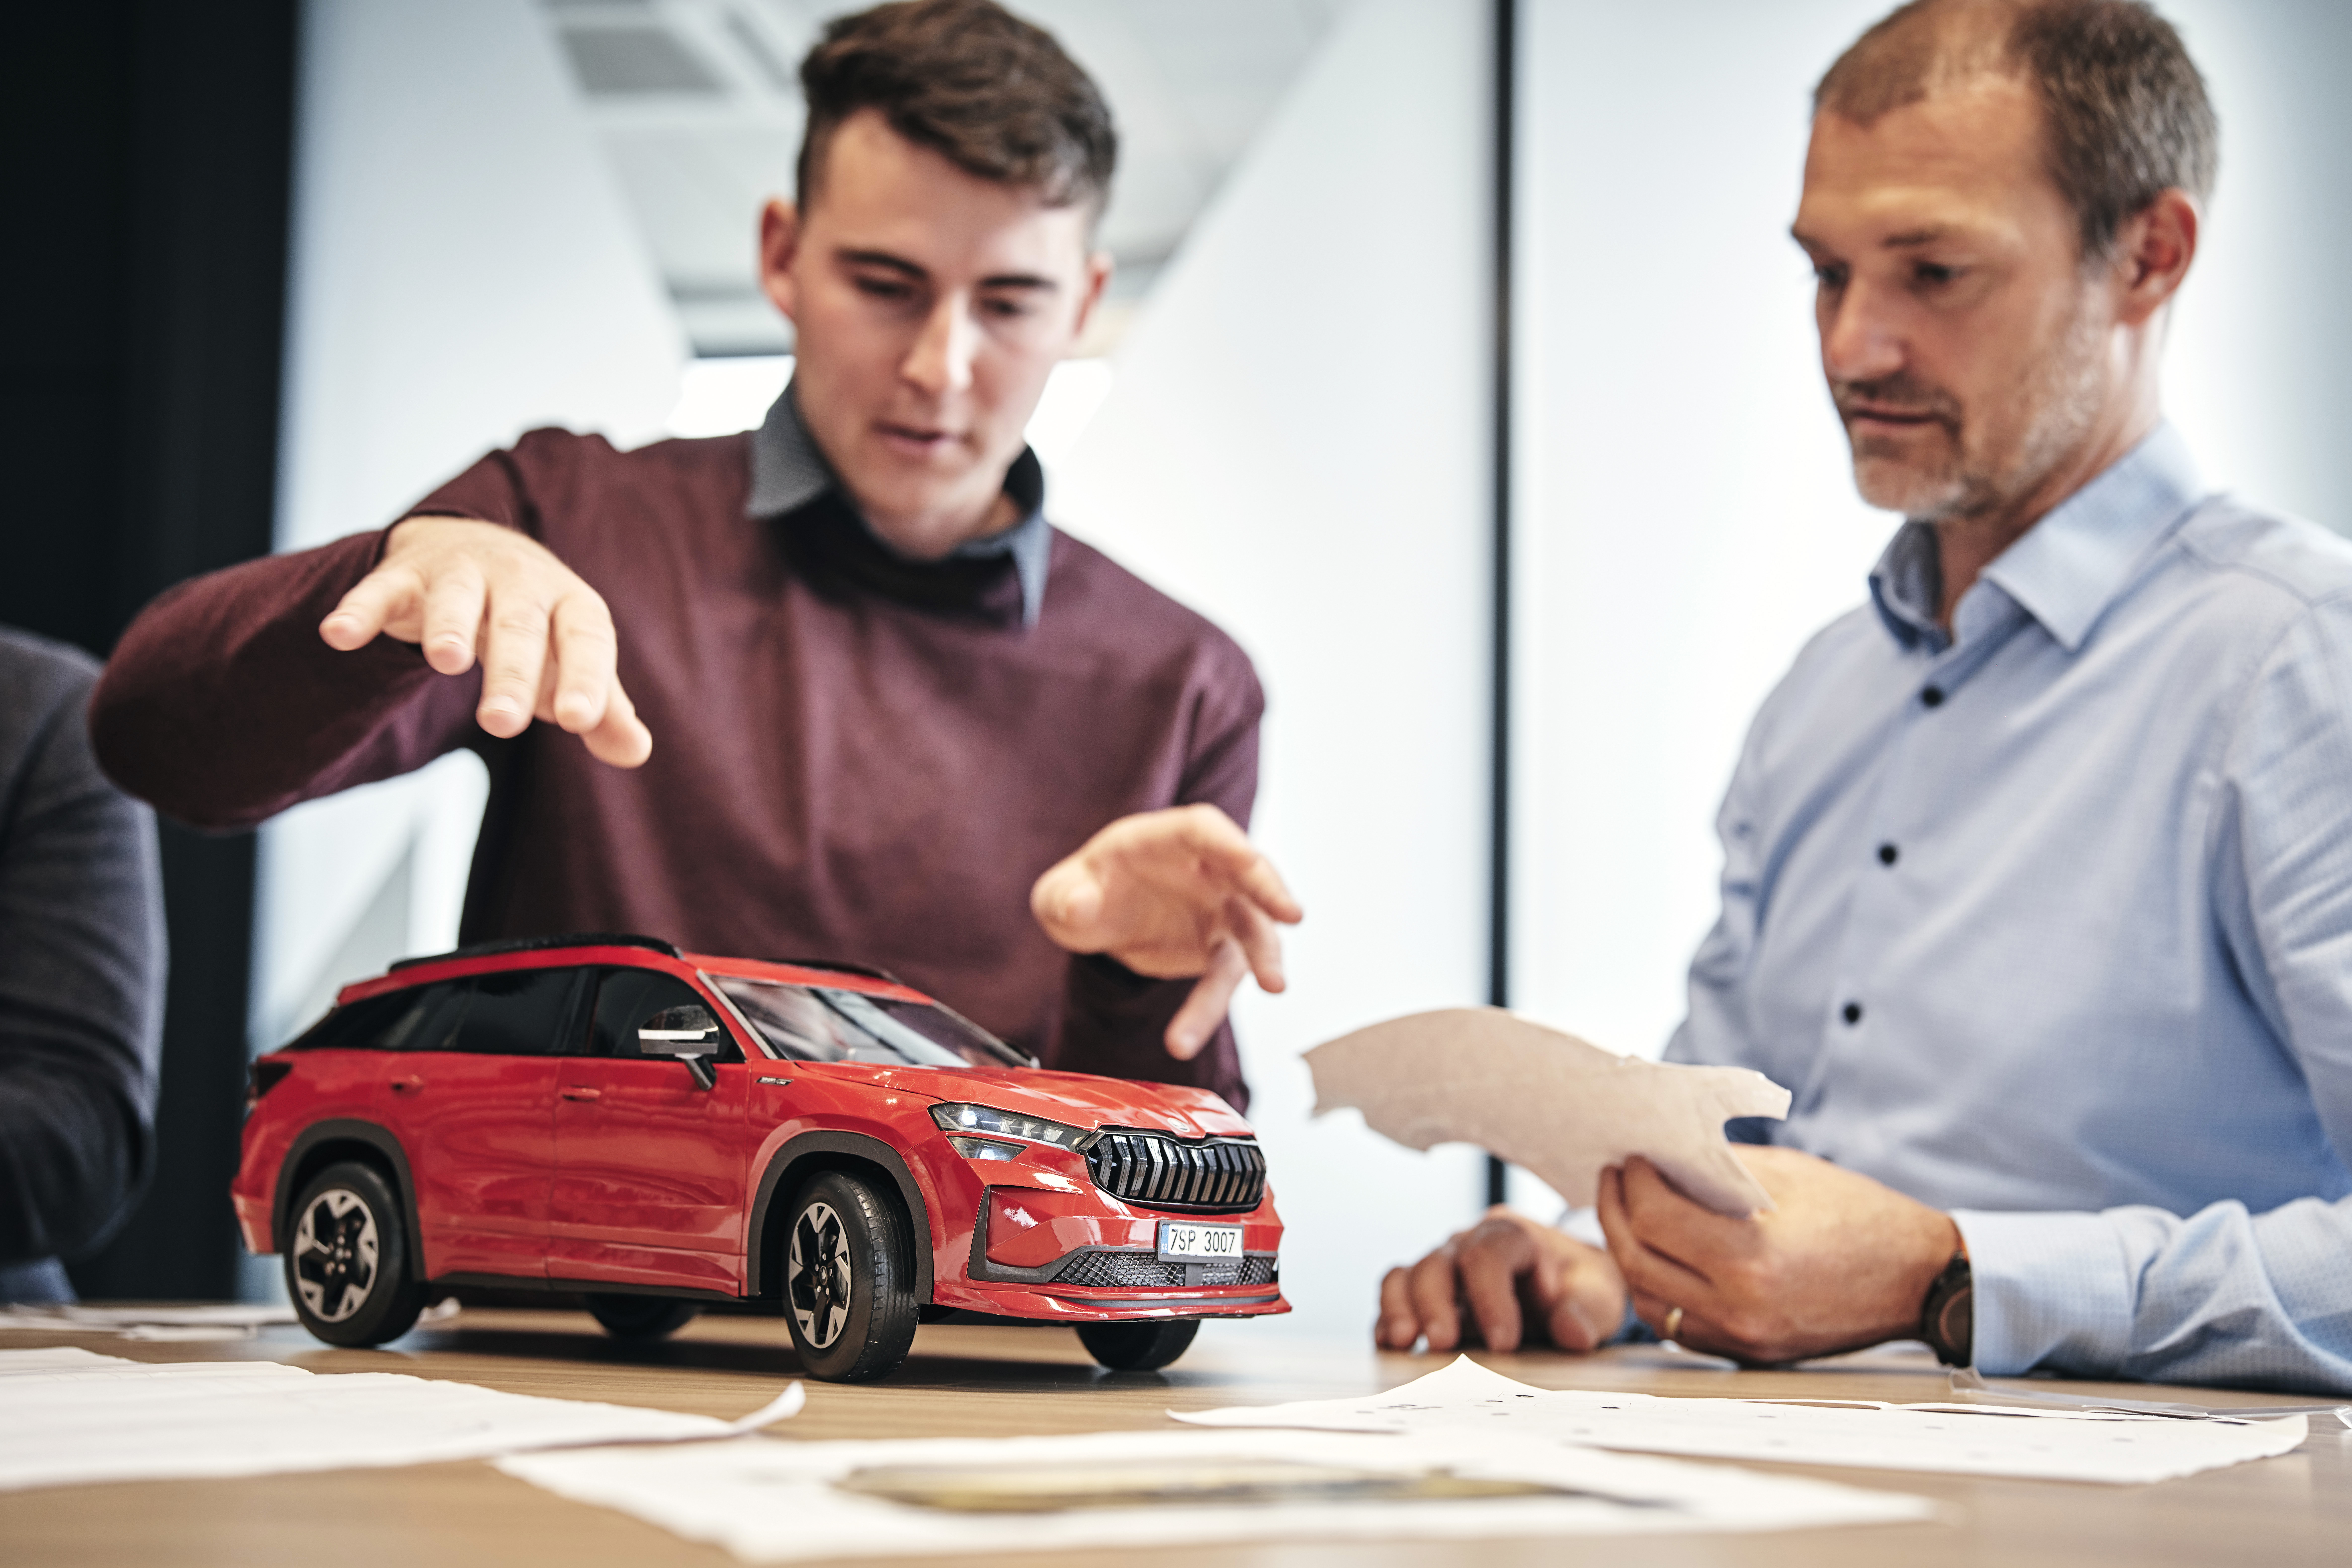
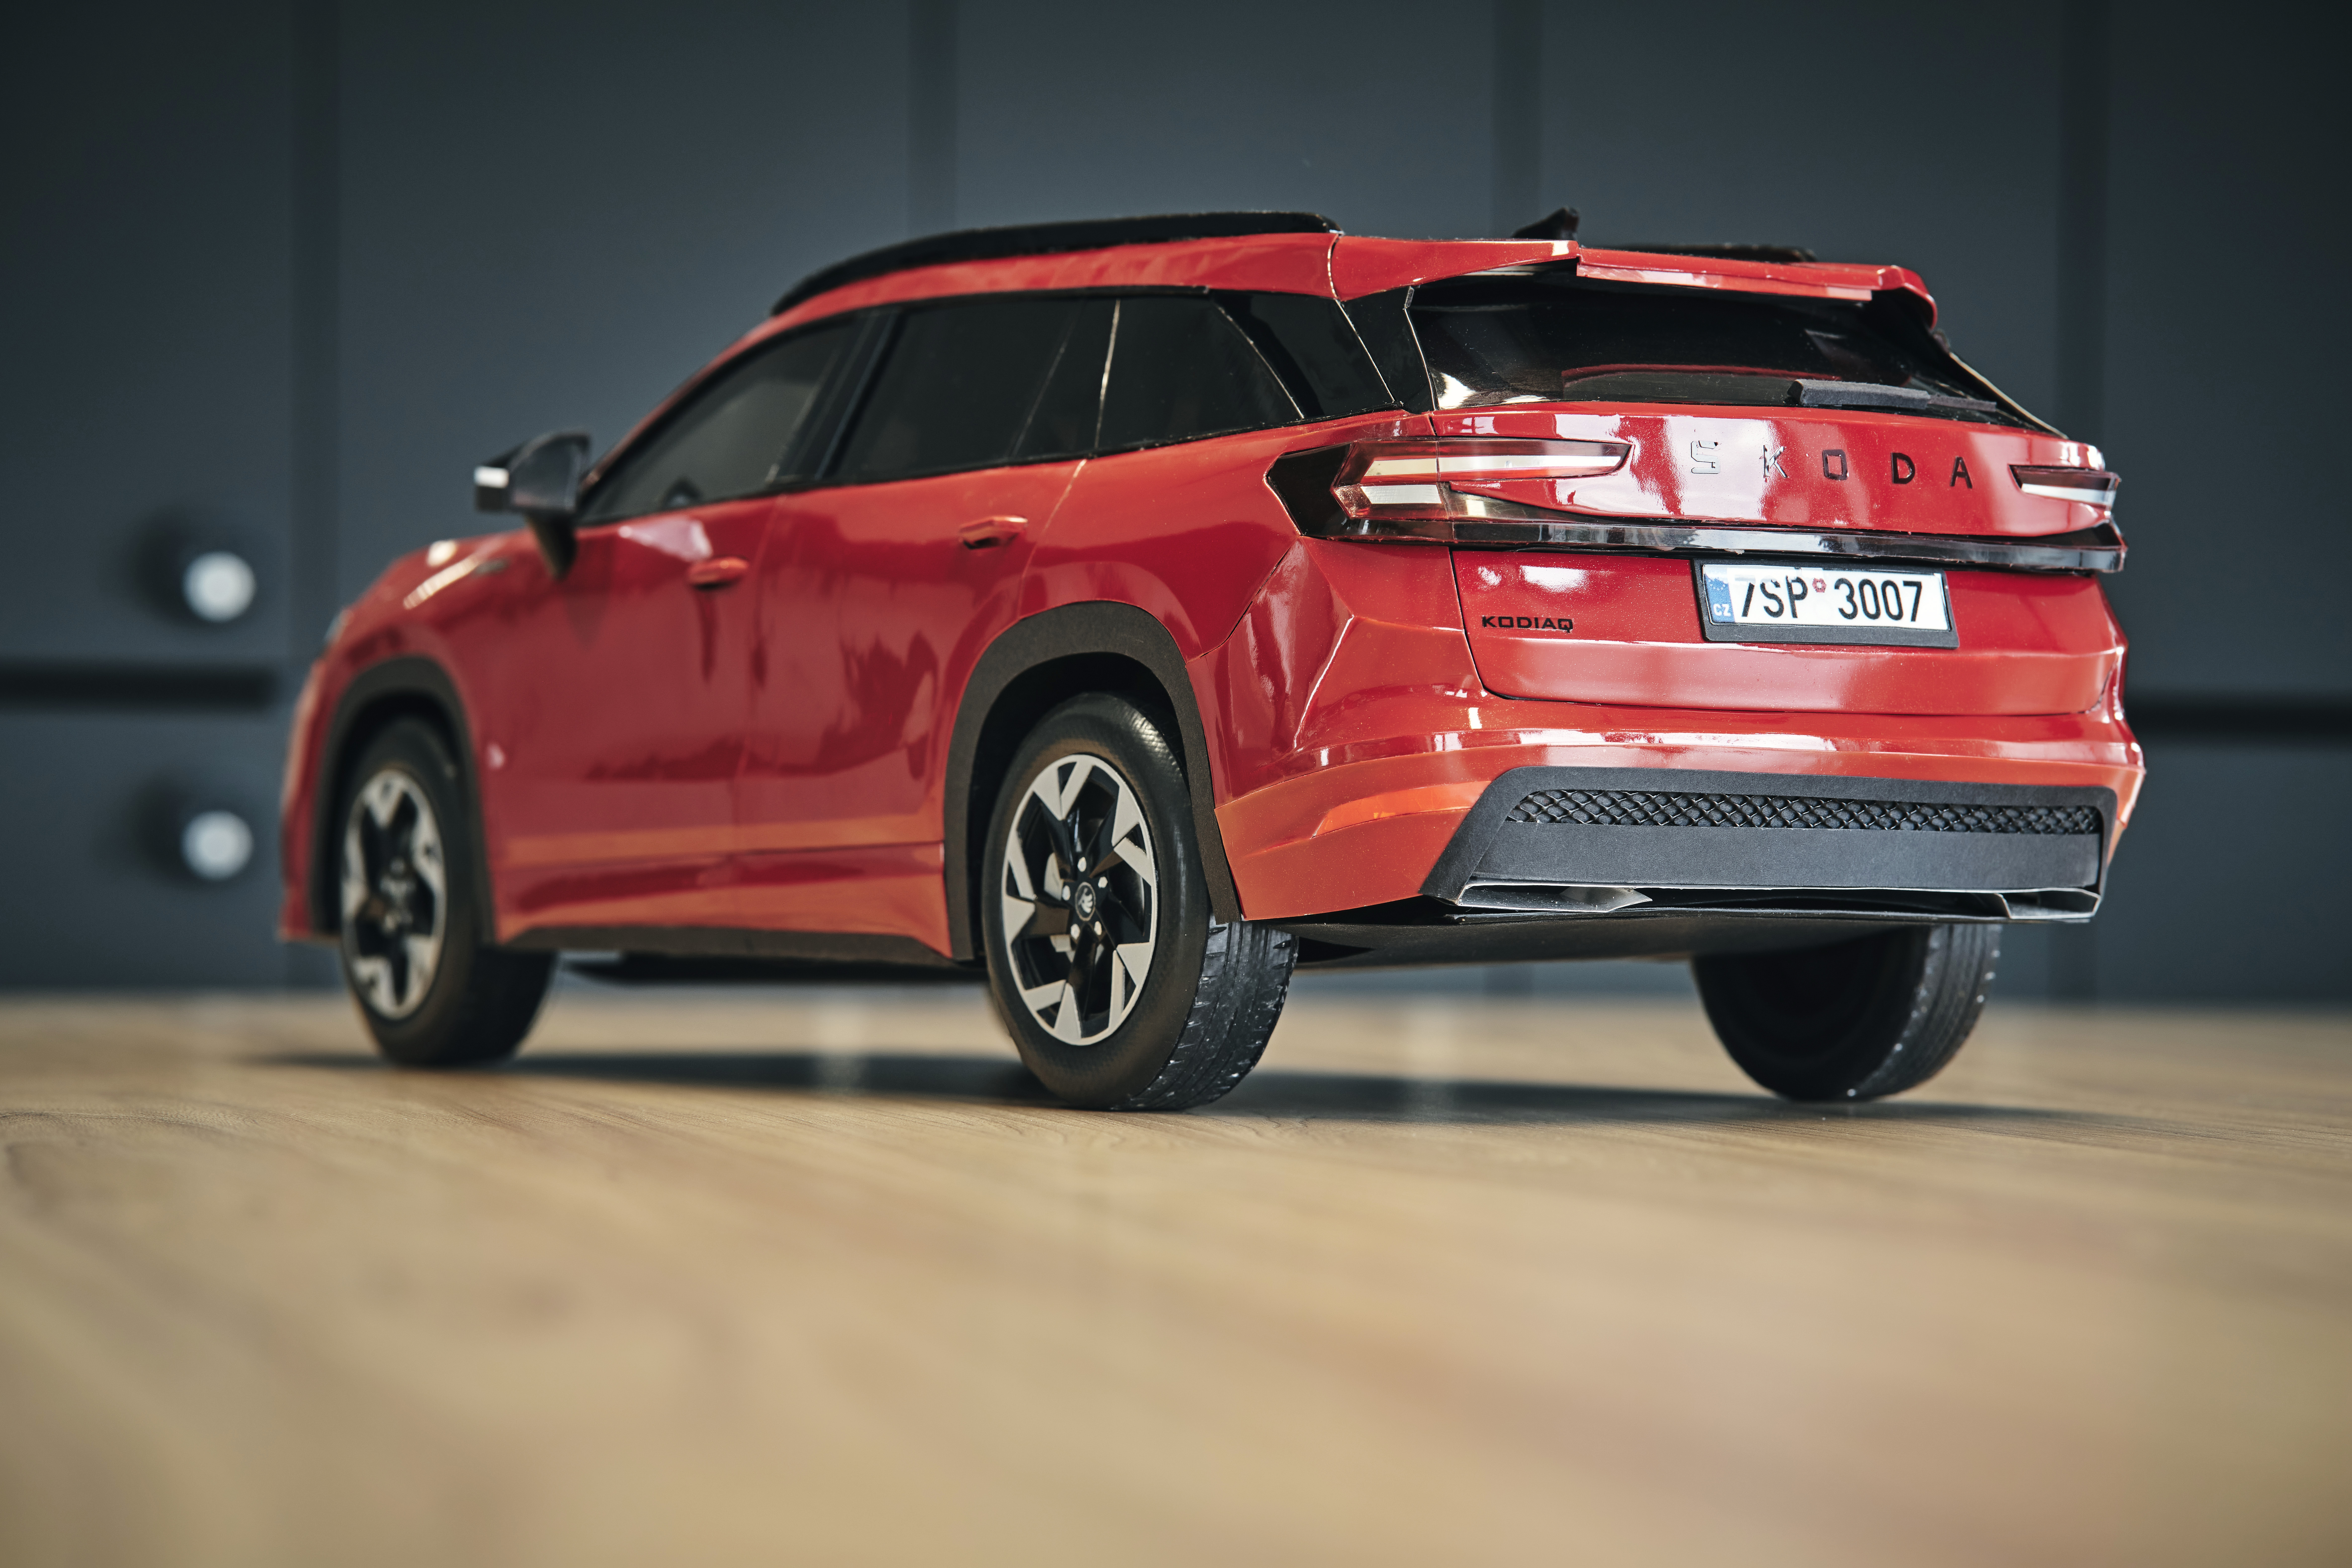
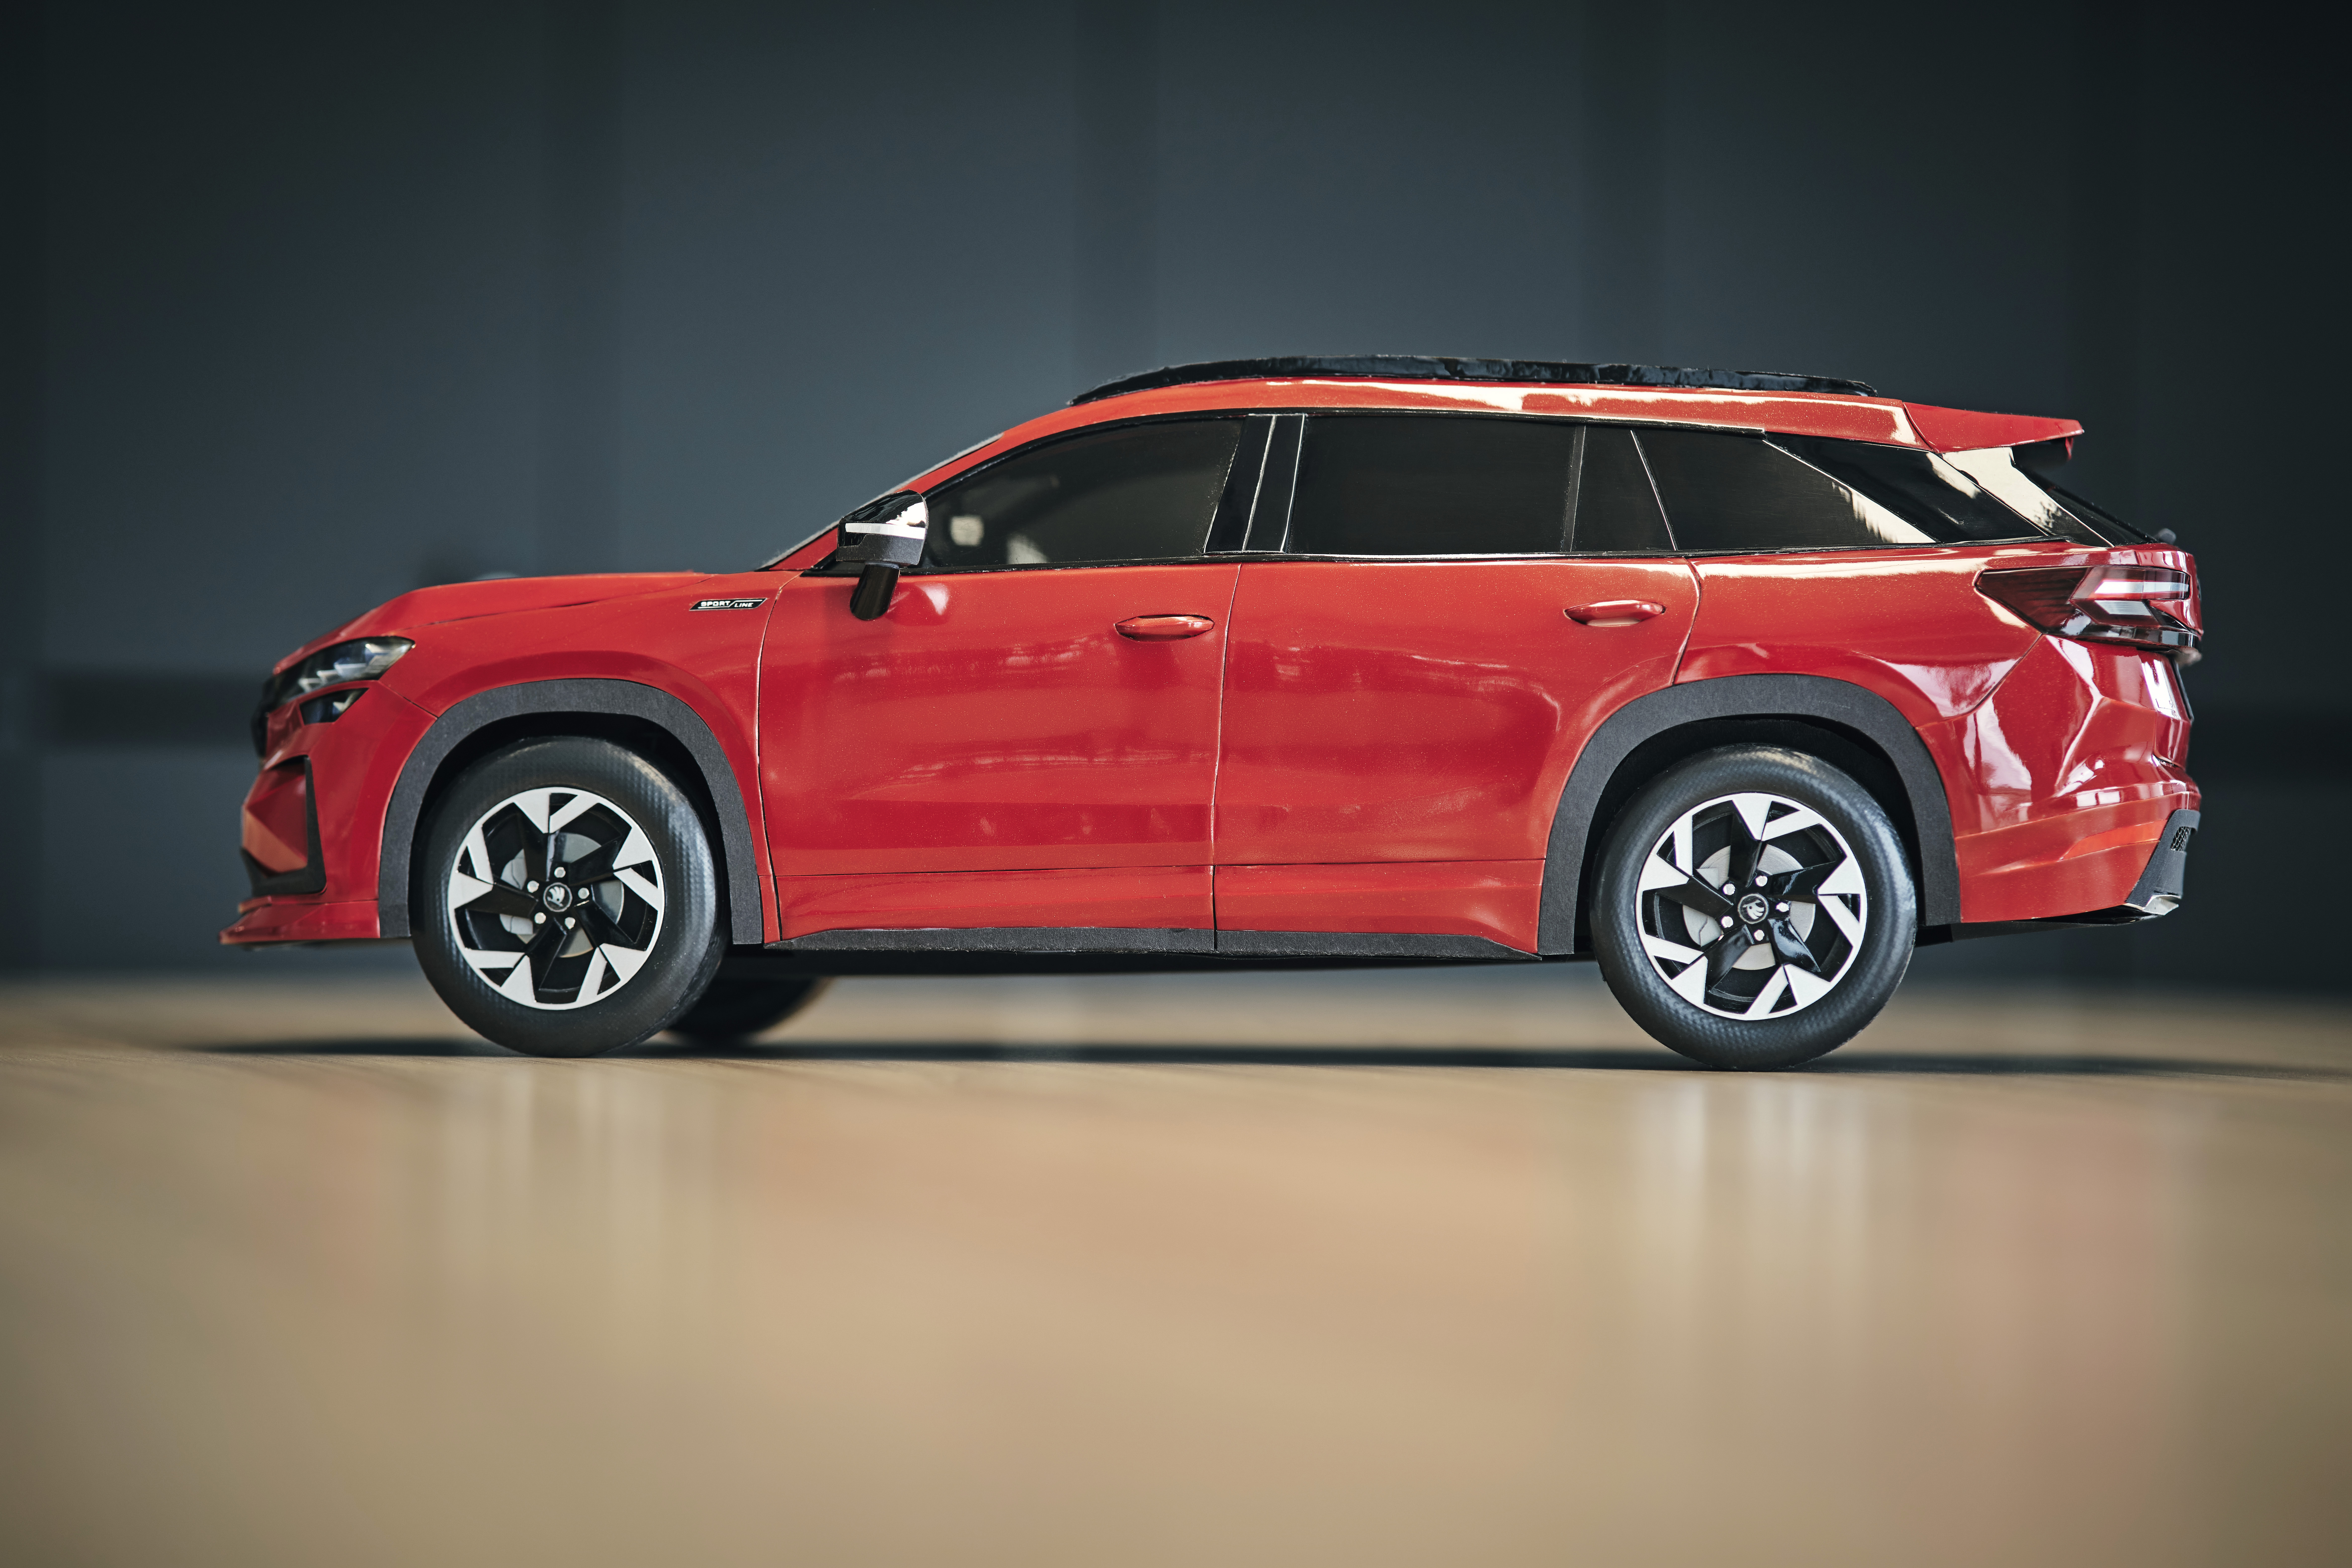
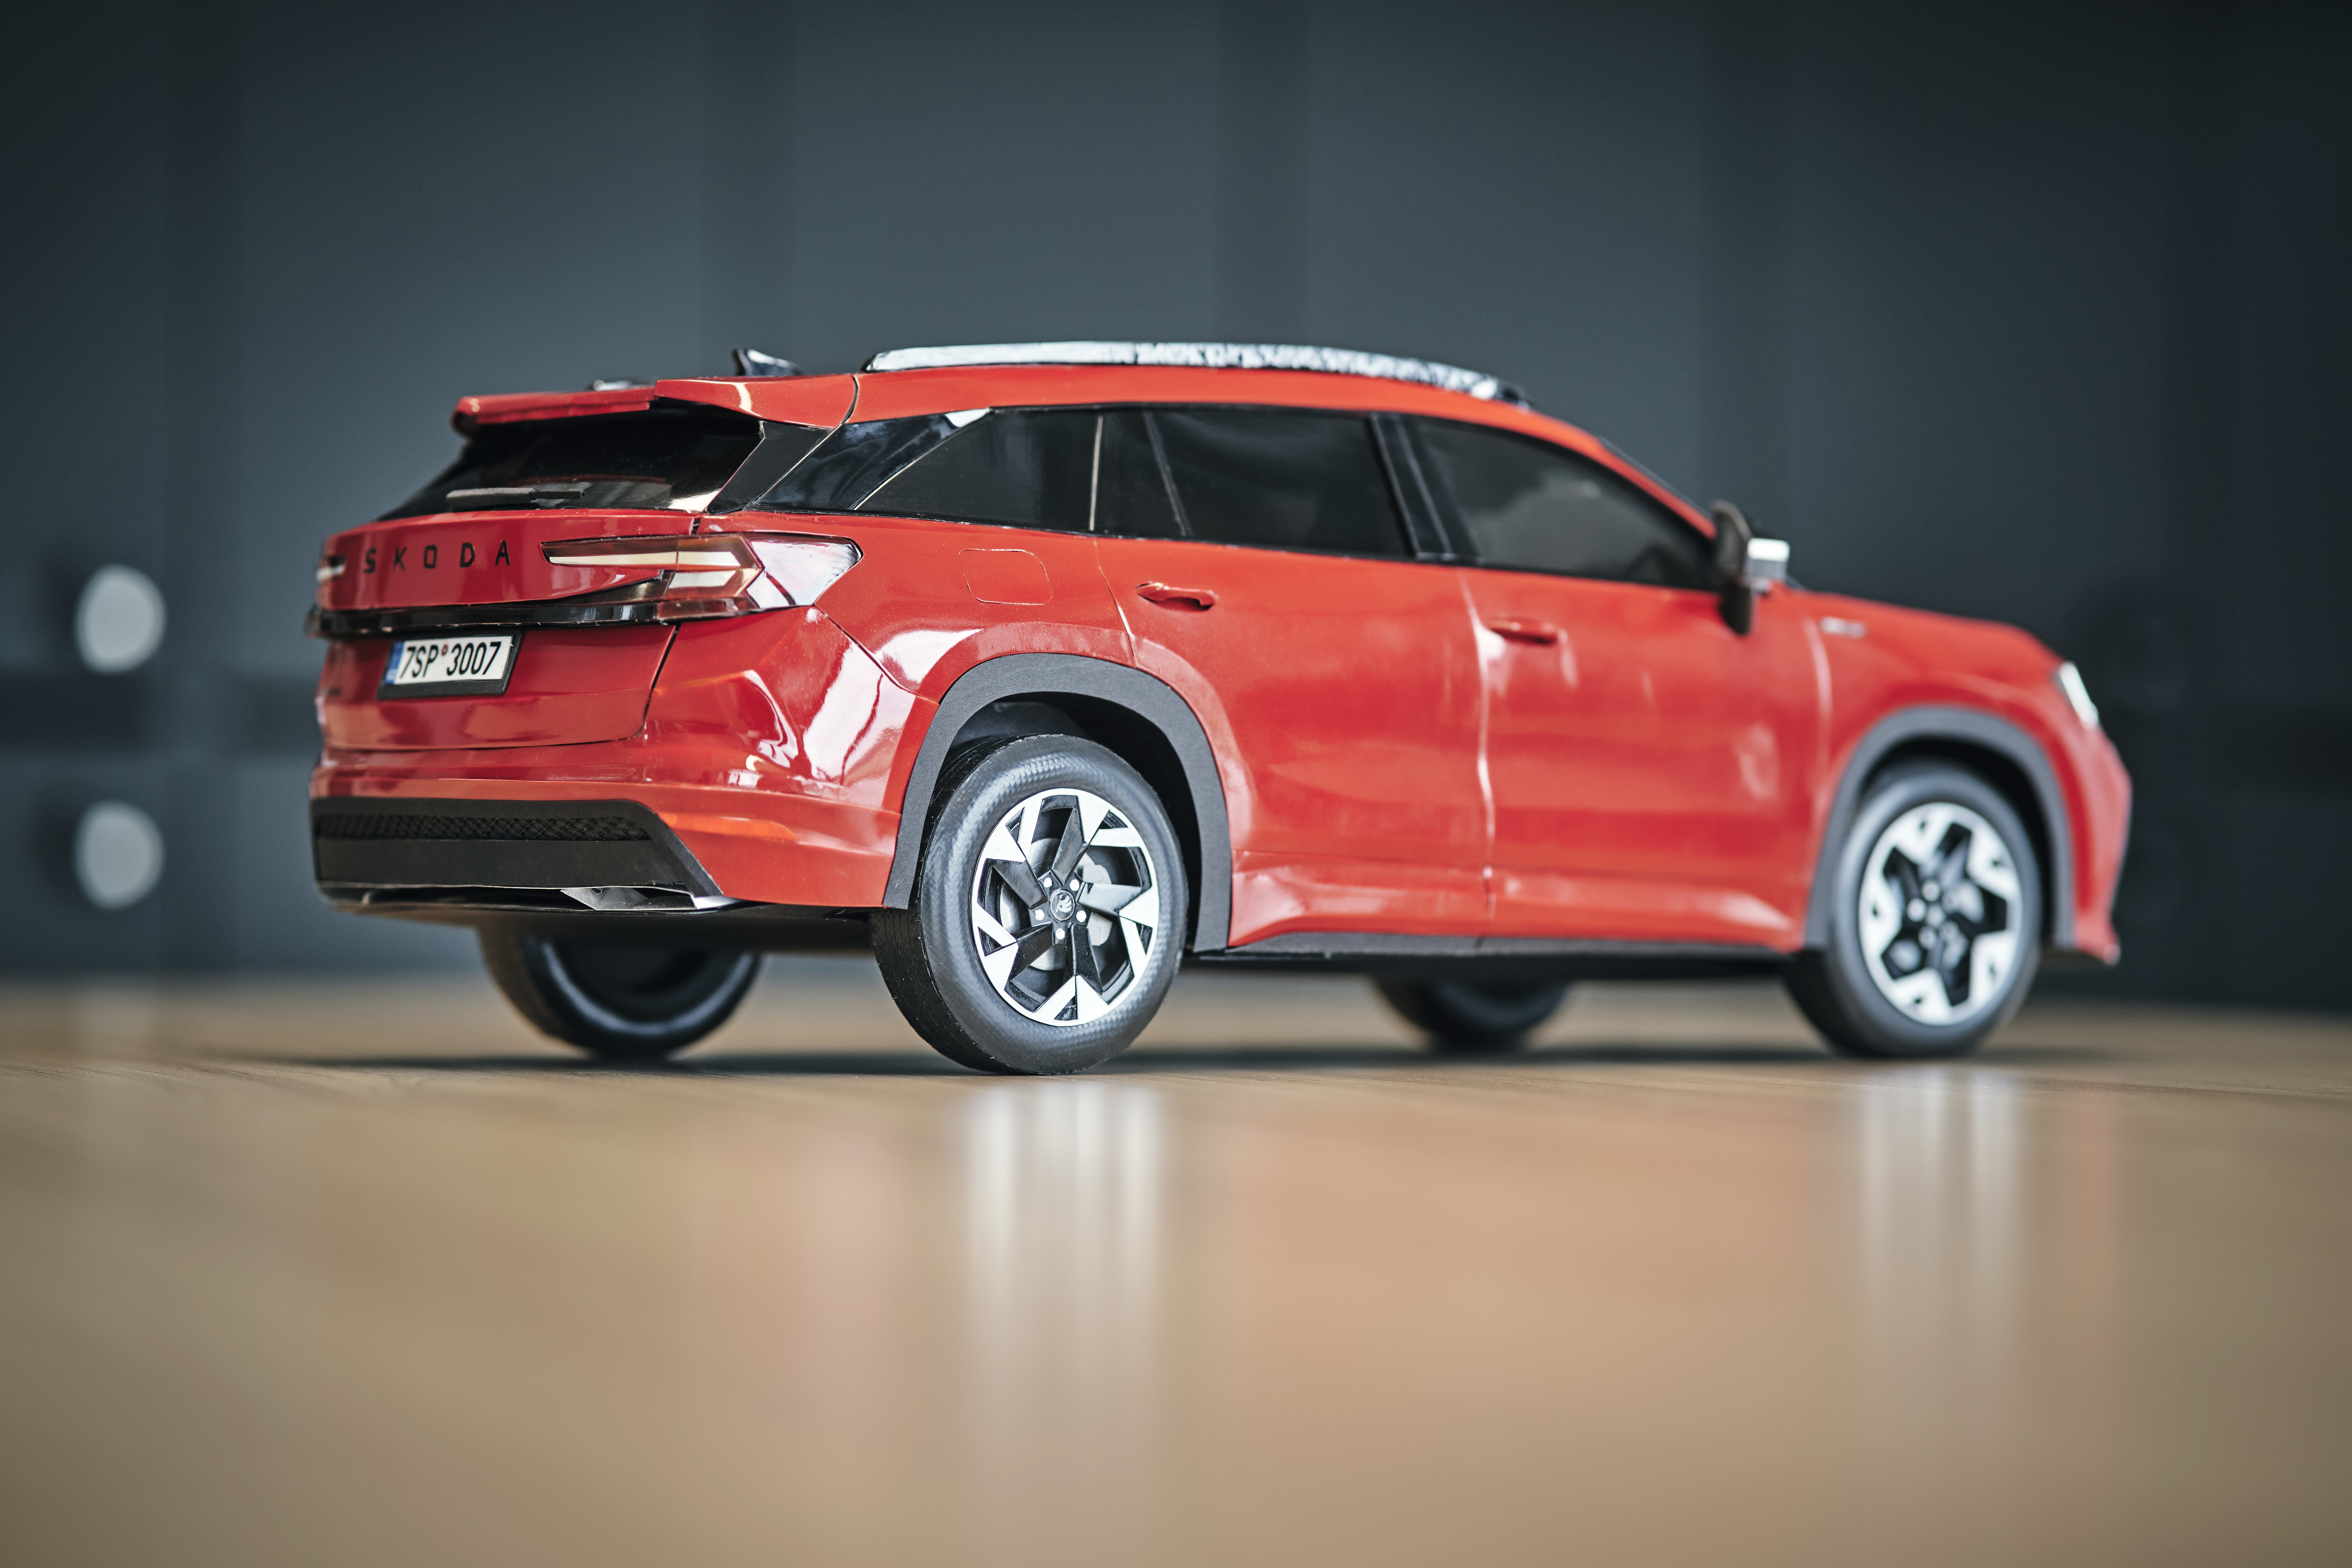
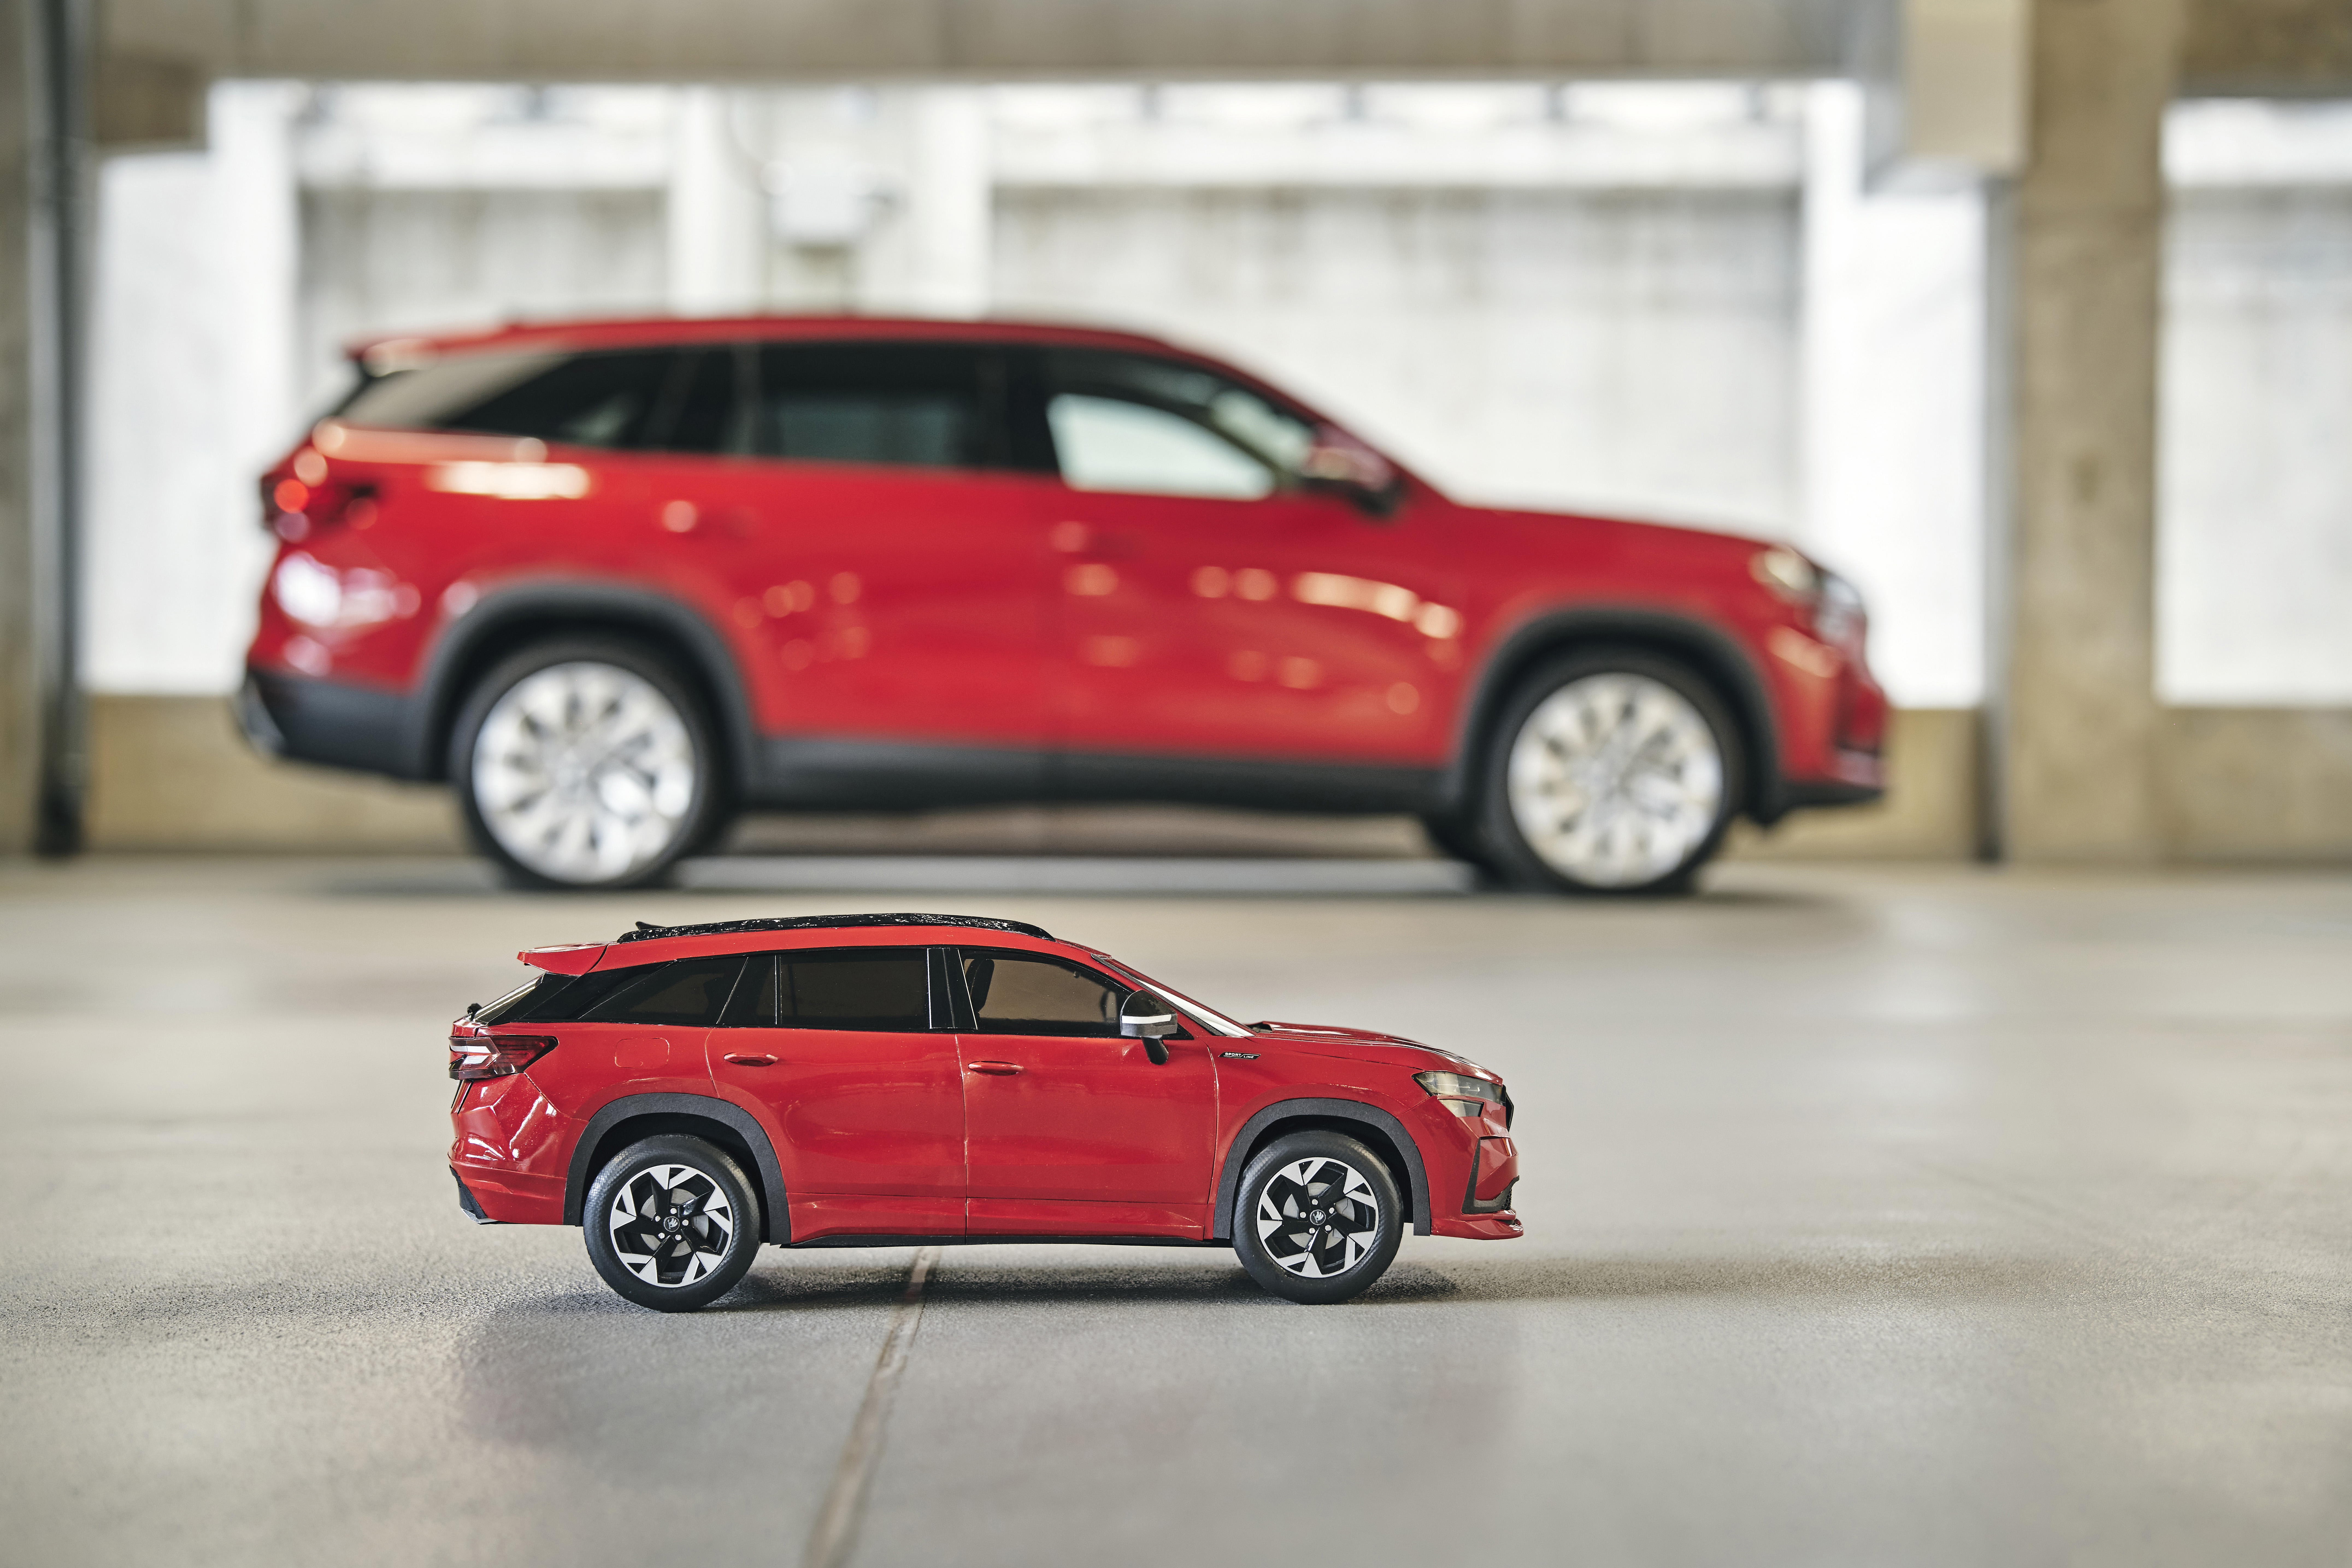
4. 8. 2026 Škoda WorldCar development is a demanding process, but creating a detailed paper model also requires a great deal of patience, precision, and determination. This is evident in the work of Petr Seemann, an enthusiastic modeler who chose the second-generation Škoda Kodiaq Sportline SUV as the basis for his latest piece. Seemann worked on the 1:10 scale model for a year and a half, spending over 700 hours on it.
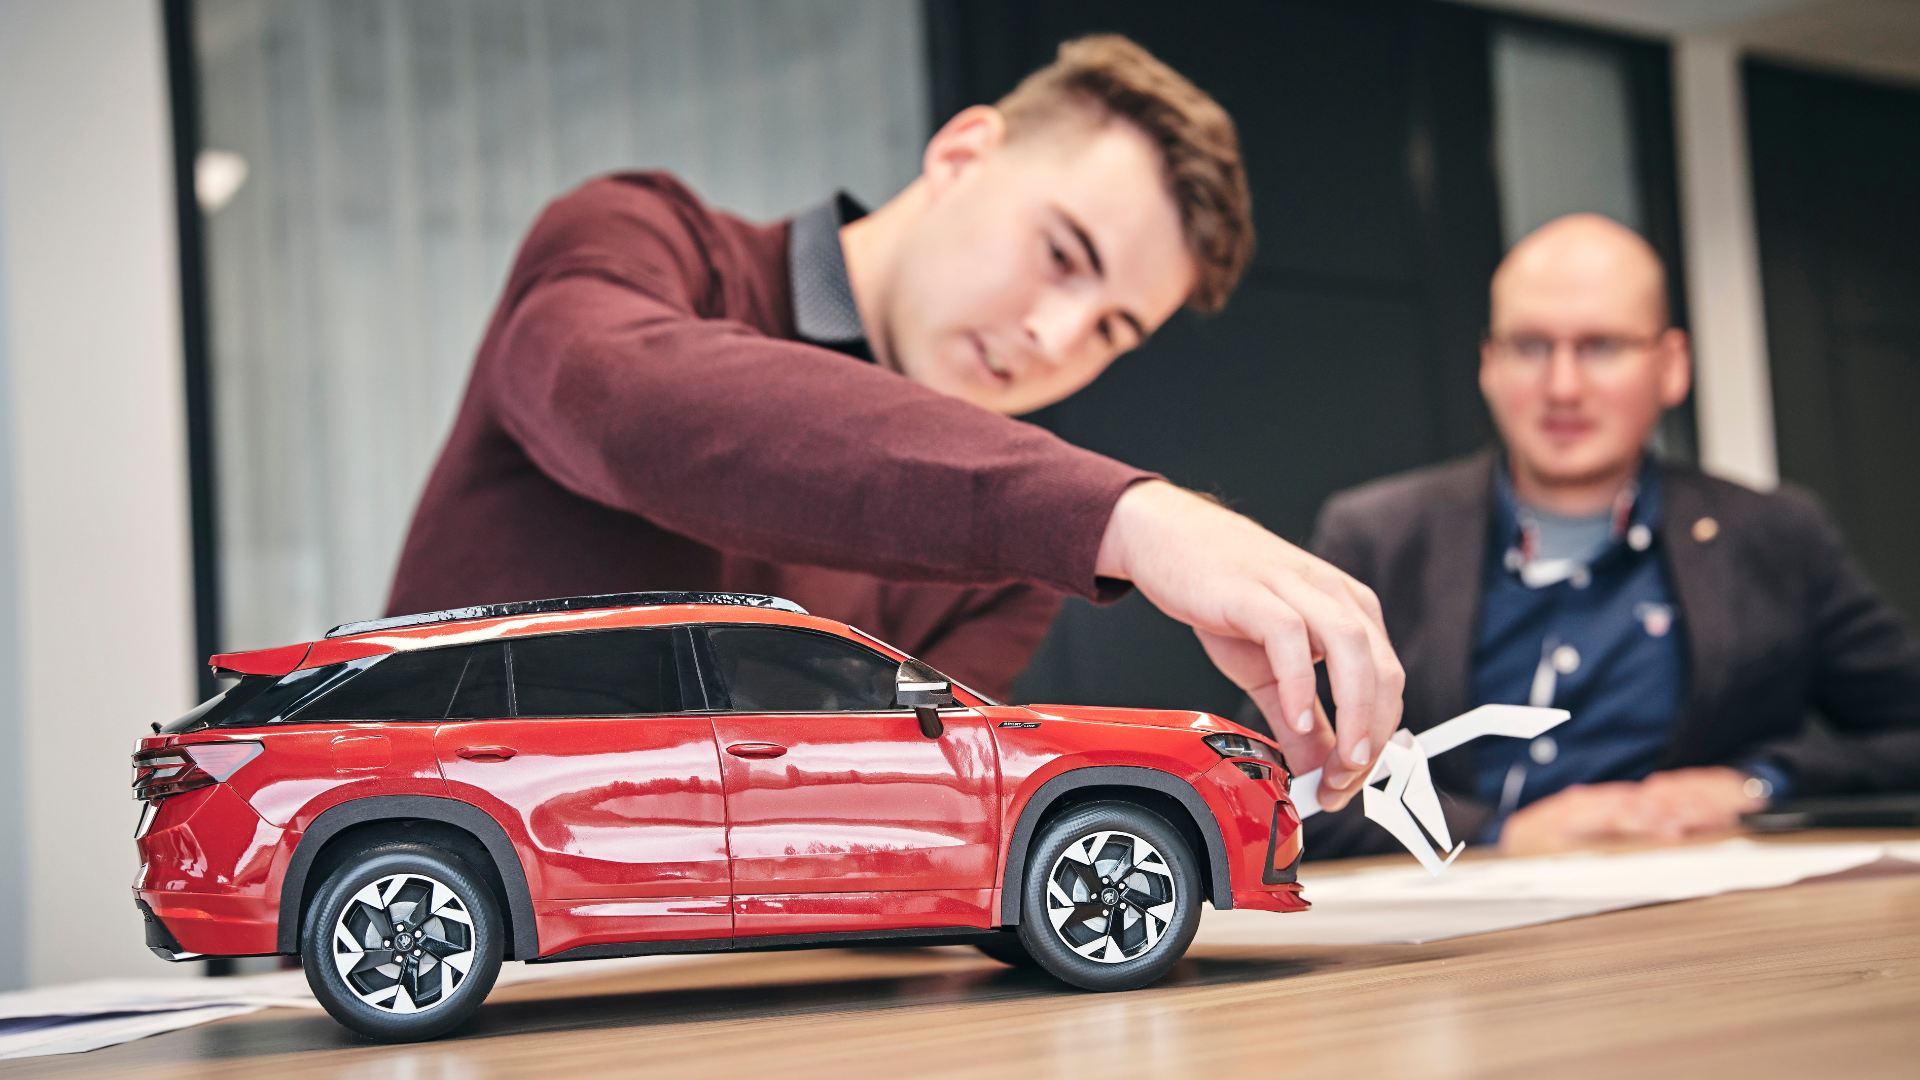
He had to create and design everything on his own, relying solely on photographs and sketches with basic technical specifications of the actual car. “I started shortly after its debut, so I had to wait a while for the technical drawings to become available,” he smiles. He chose the Kodiaq for its shape: “Take the Superb sedan for example—which I also really like—it has a very complicated rear pillar design. With SUVs and station wagons, working on this detail is easier,” he explains.
Petr Seemann documented the entire model-building process from the initial preparations to the final result with numerous photos and a video. He eventually drove the finished creation directly to Škoda Auto to show it off, where it received great acclaim.
“The Kodiaq is a very successful model that customers particularly like to choose in the more generously equipped versions, which include the Sportline trim,” says Petr Dvořák from Škoda Auto’s marketing department, praising his choice.
Sometimes the only option is trial and error
Building a paper model of a car without detailed reference materials is not only a lot of fiddly work, but above all a constant search for how to accurately capture the shapes and maintain the proportions. According to Seemann, the basic approach is actually quite simple: “I imported the sketches with technical data into AutoCAD (a graphics program for 2D and 3D drawing, design, and modeling) and used it to obtain a number of additional detailed dimensions, including, for example, the position of the seats inside,” he explains.
For parts like the side panels or the roof, it was more or less enough to transfer them to paper to scale and then model them. Elsewhere, however, the preparation was more demanding. For example, the hood and bumpers required a more meticulous approach. The front bumper, in particular, took a bit of fine-tuning, trial and error style. “This was probably the most challenging part,” says Petr, referring to the Sportline bumper.
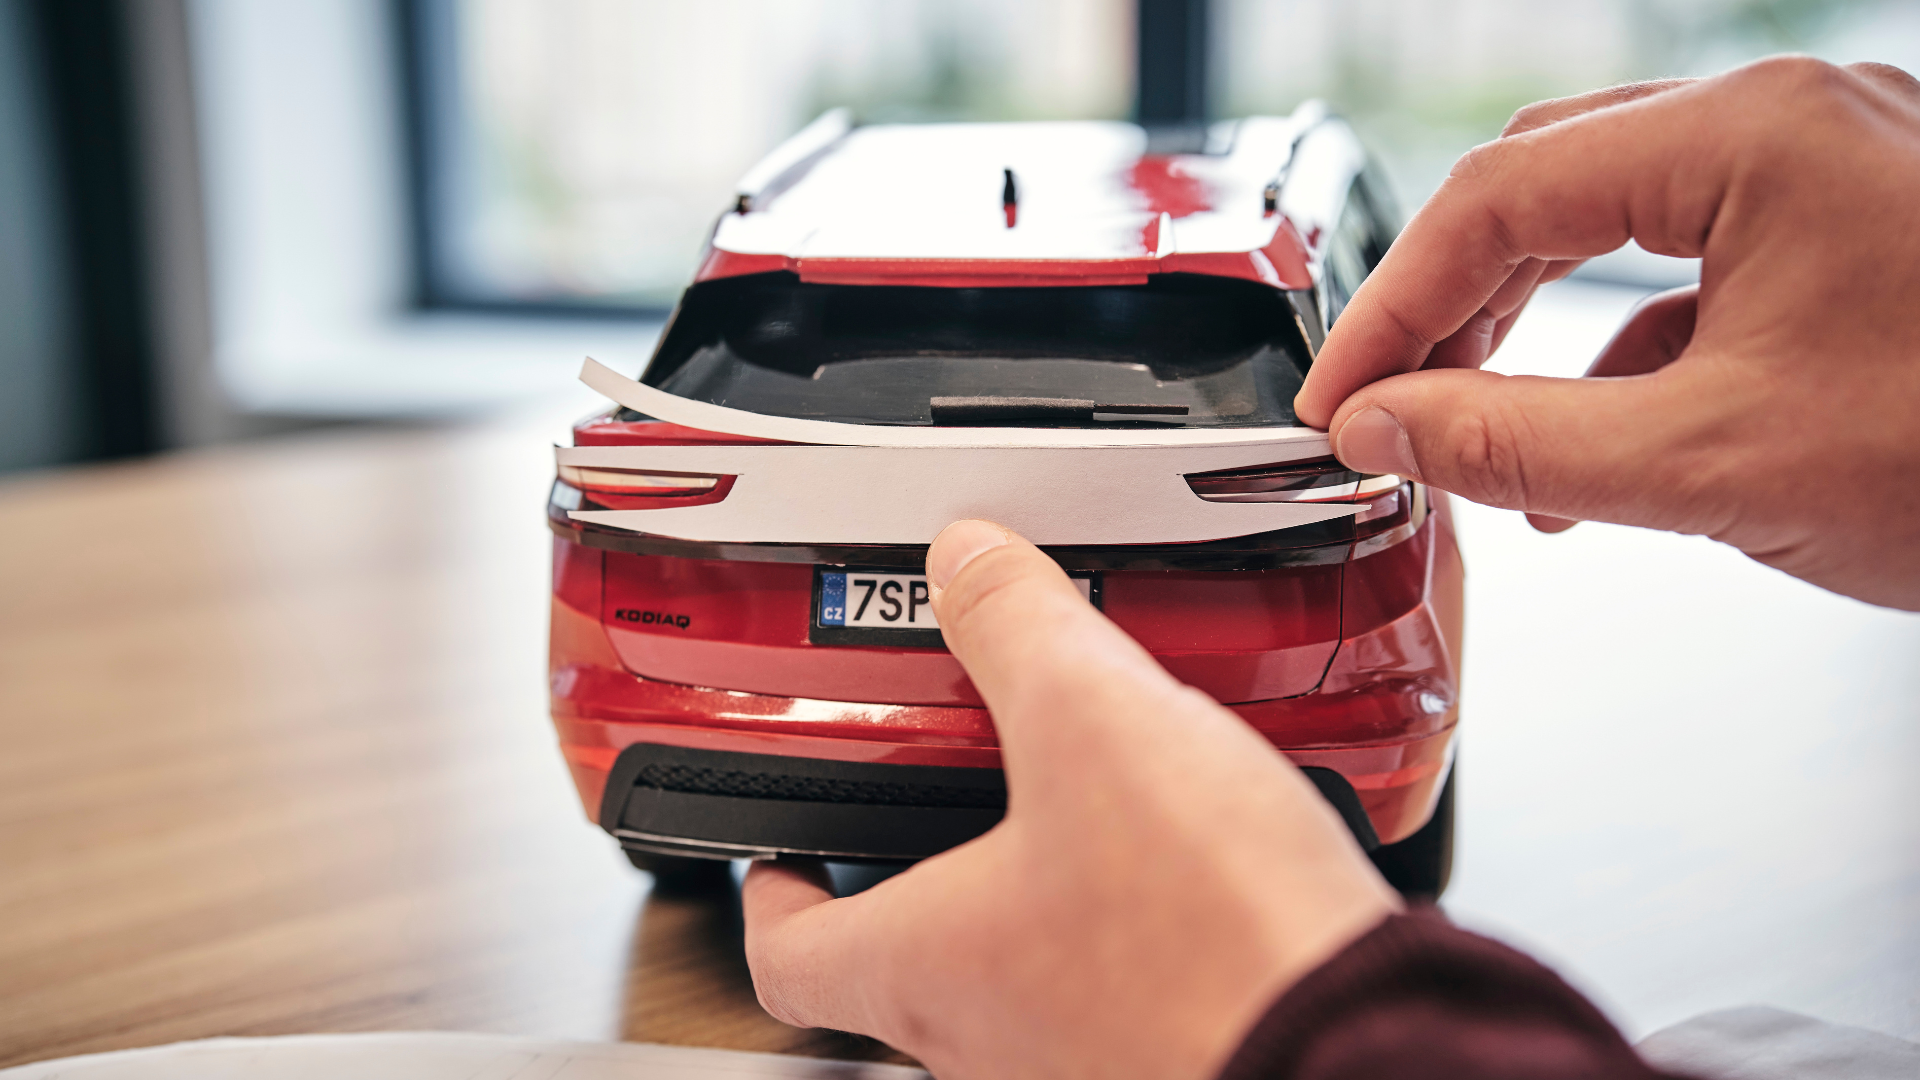
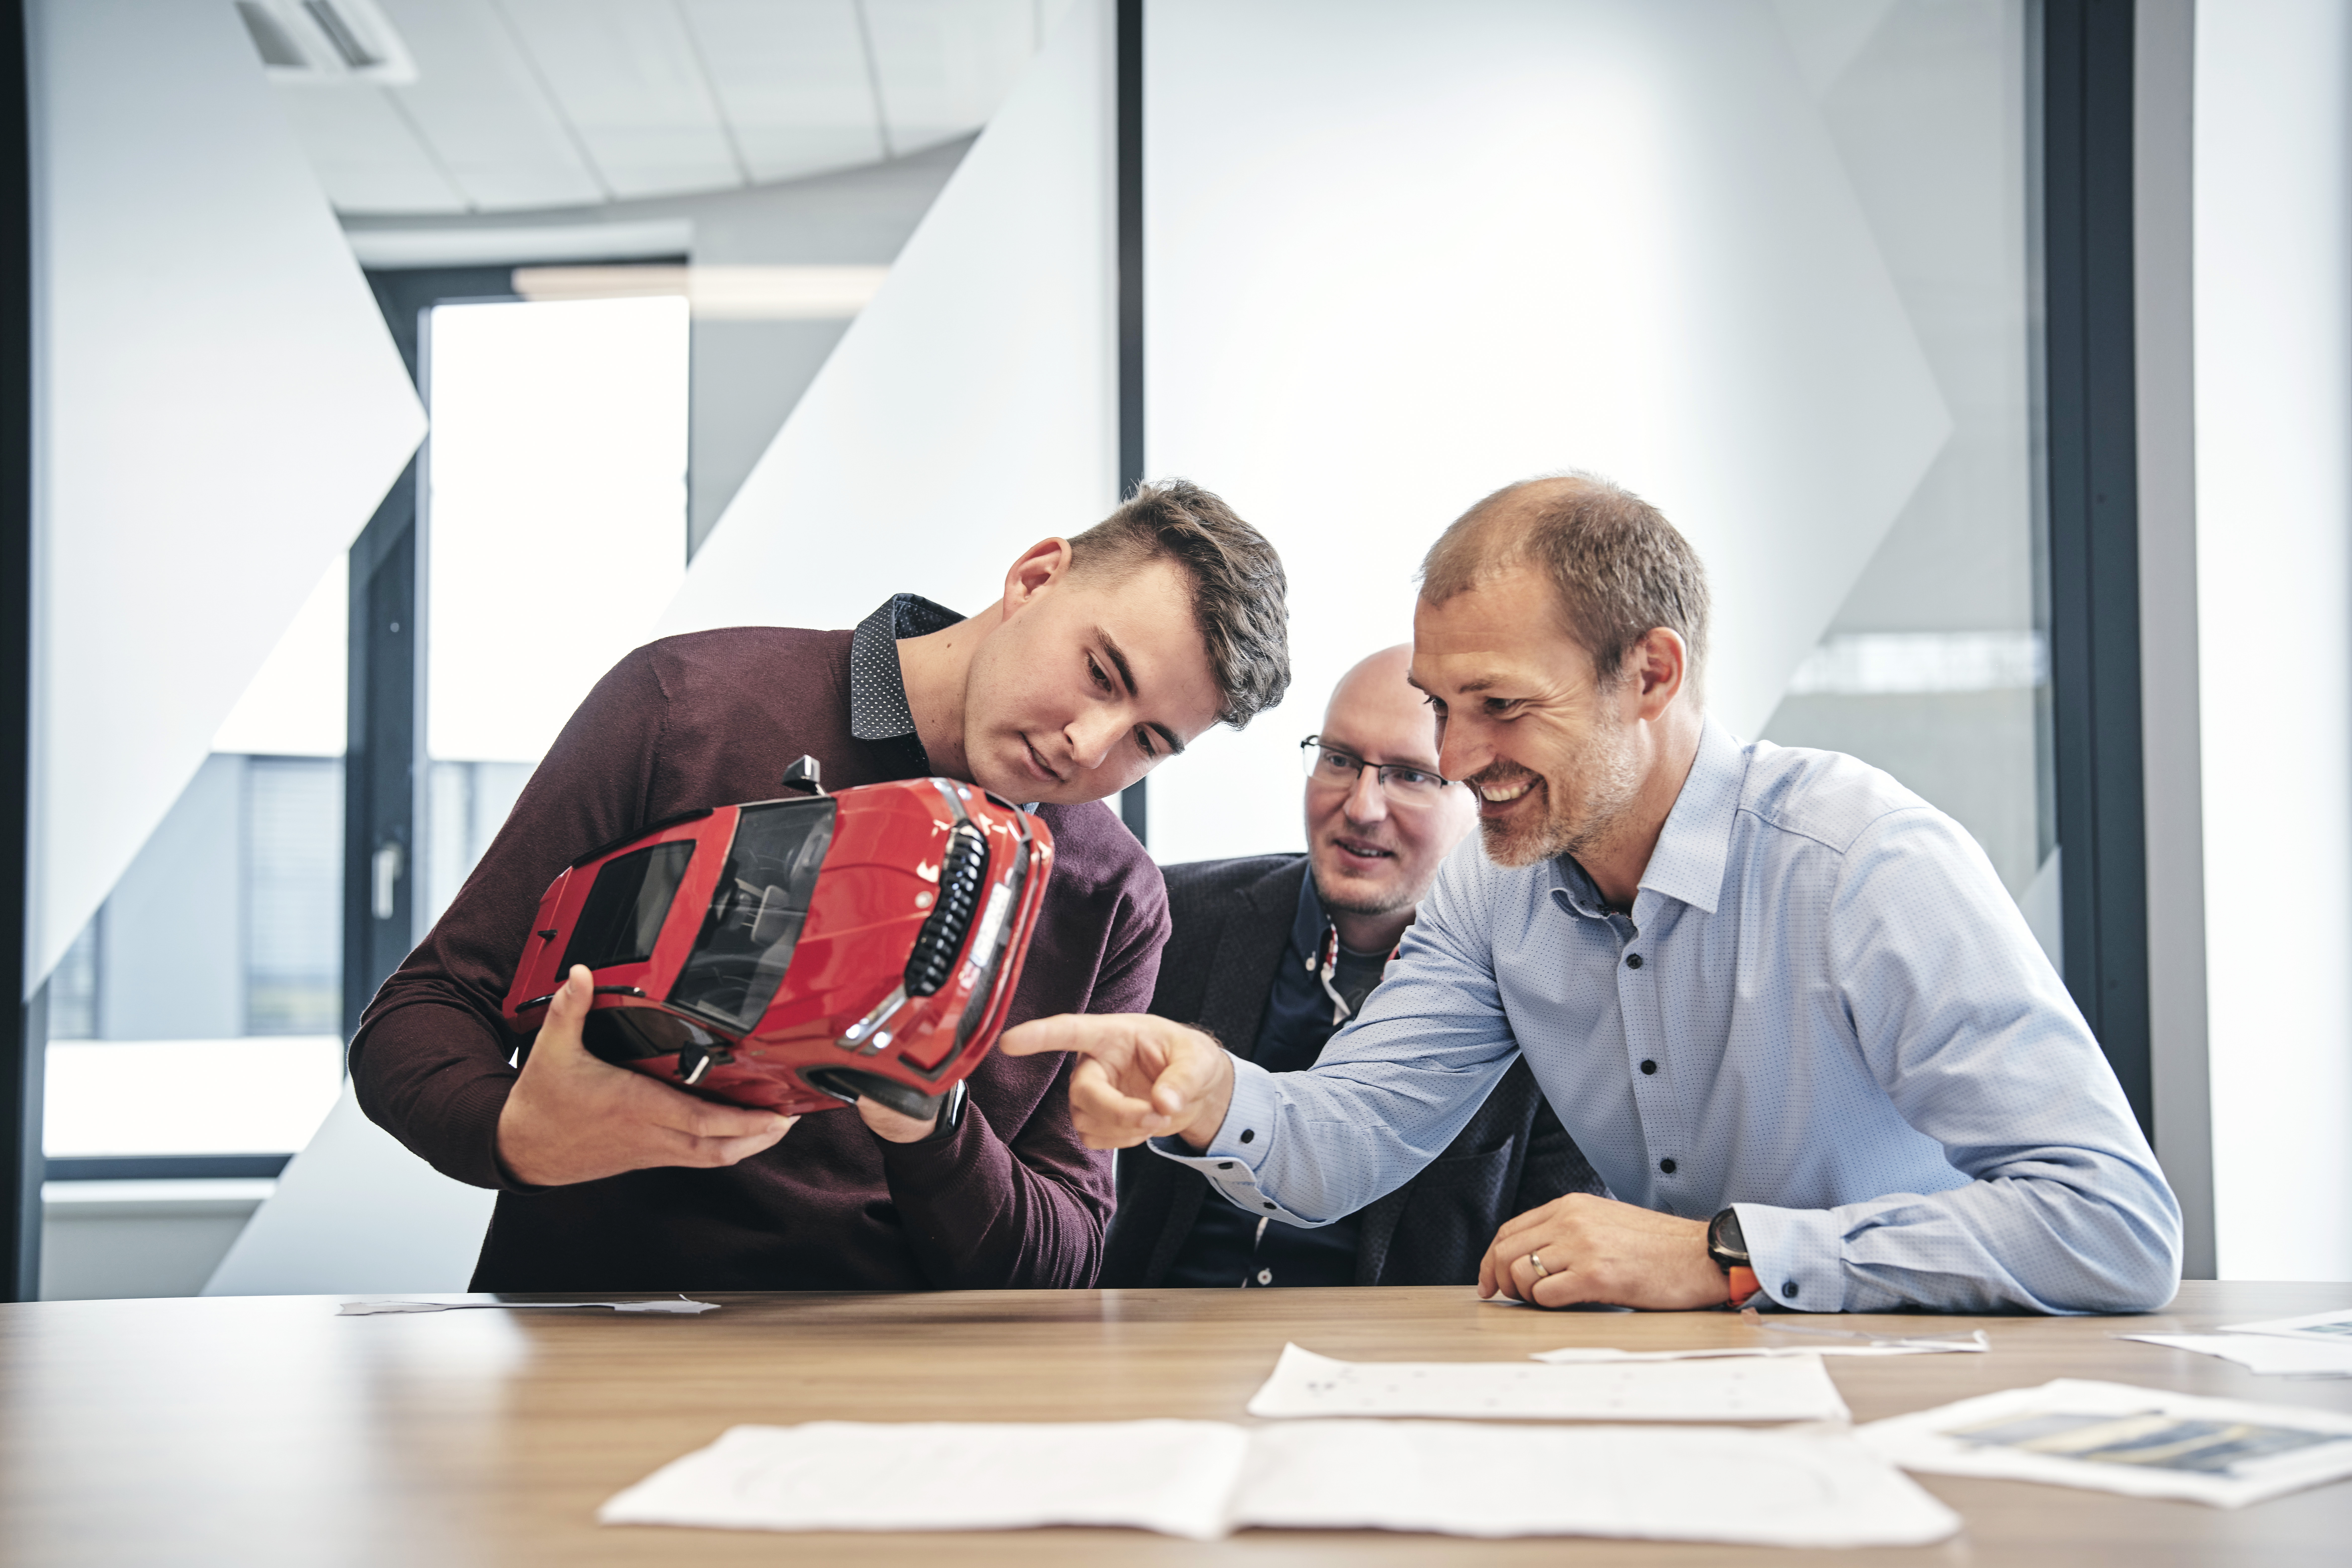
Tomáš Douběta from Škoda Auto’s Product Management agrees: “In a way, it’s the same for us, too.” However, the reasons differ: on an actual car, the bumper must balance demanding aesthetic and, above all, safety requirements. With a model, the main focus is on finding the right shape and ensuring it retains that shape.
When fine-tuning the shapes, Petr Seemann relies not only on properly flattening the part but also on further processing. The embossed areas and edges must first be scored with a scalpel from the reverse side. Most of the outer parts are backed with cardboard: some with thin cardboard, like that used in tissue boxes, others with thicker cardboard. The strength of the parts is also influenced by the adhesive; the author has tried several types, ranging from superglue to liquid adhesives to glue sticks. Always depending on what was needed at the time.
The paint is also a key element. Each body panel has four to five layers, which are applied directly to glossy model-making paper (essentially photo paper). Finally, a single layer of clear coat is applied. Incidentally, the parts arrive at the model shop fully painted and if necessary, finished on both the exterior and interior.
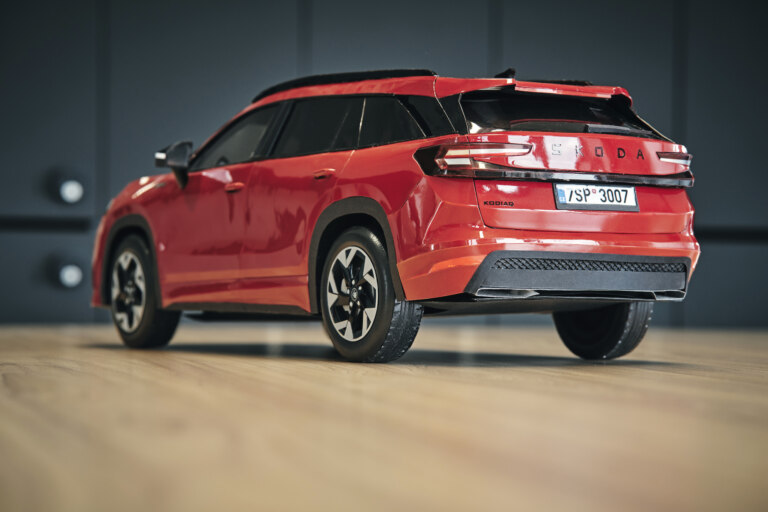
Petr chose red paint not only because it simply looks good on the Kodiaq, but also because the commonly available shade is close to the one Škoda offers under the name “Velvet Red.” “I also considered blue, but I couldn’t find an available shade that matched the Škoda one,” says the modeler. “Red accentuates the Sportline model’s sporty design and is very popular among customers who choose this version,” Dvořák agrees.
Petr Seemann
Petr Seemann, an enthusiastic modeler, is a trained and practicing transportation engineer, so he has a close connection to cars. He currently works on programming traffic lights. He has been building models in his free time since 2016. “I was never interested in classic kit models; I’ve always built everything myself,” he says. The Kodiaq is his seventh model and his most elaborate one to date. He has worked on a Škoda car once before, creating a model of the Scala.
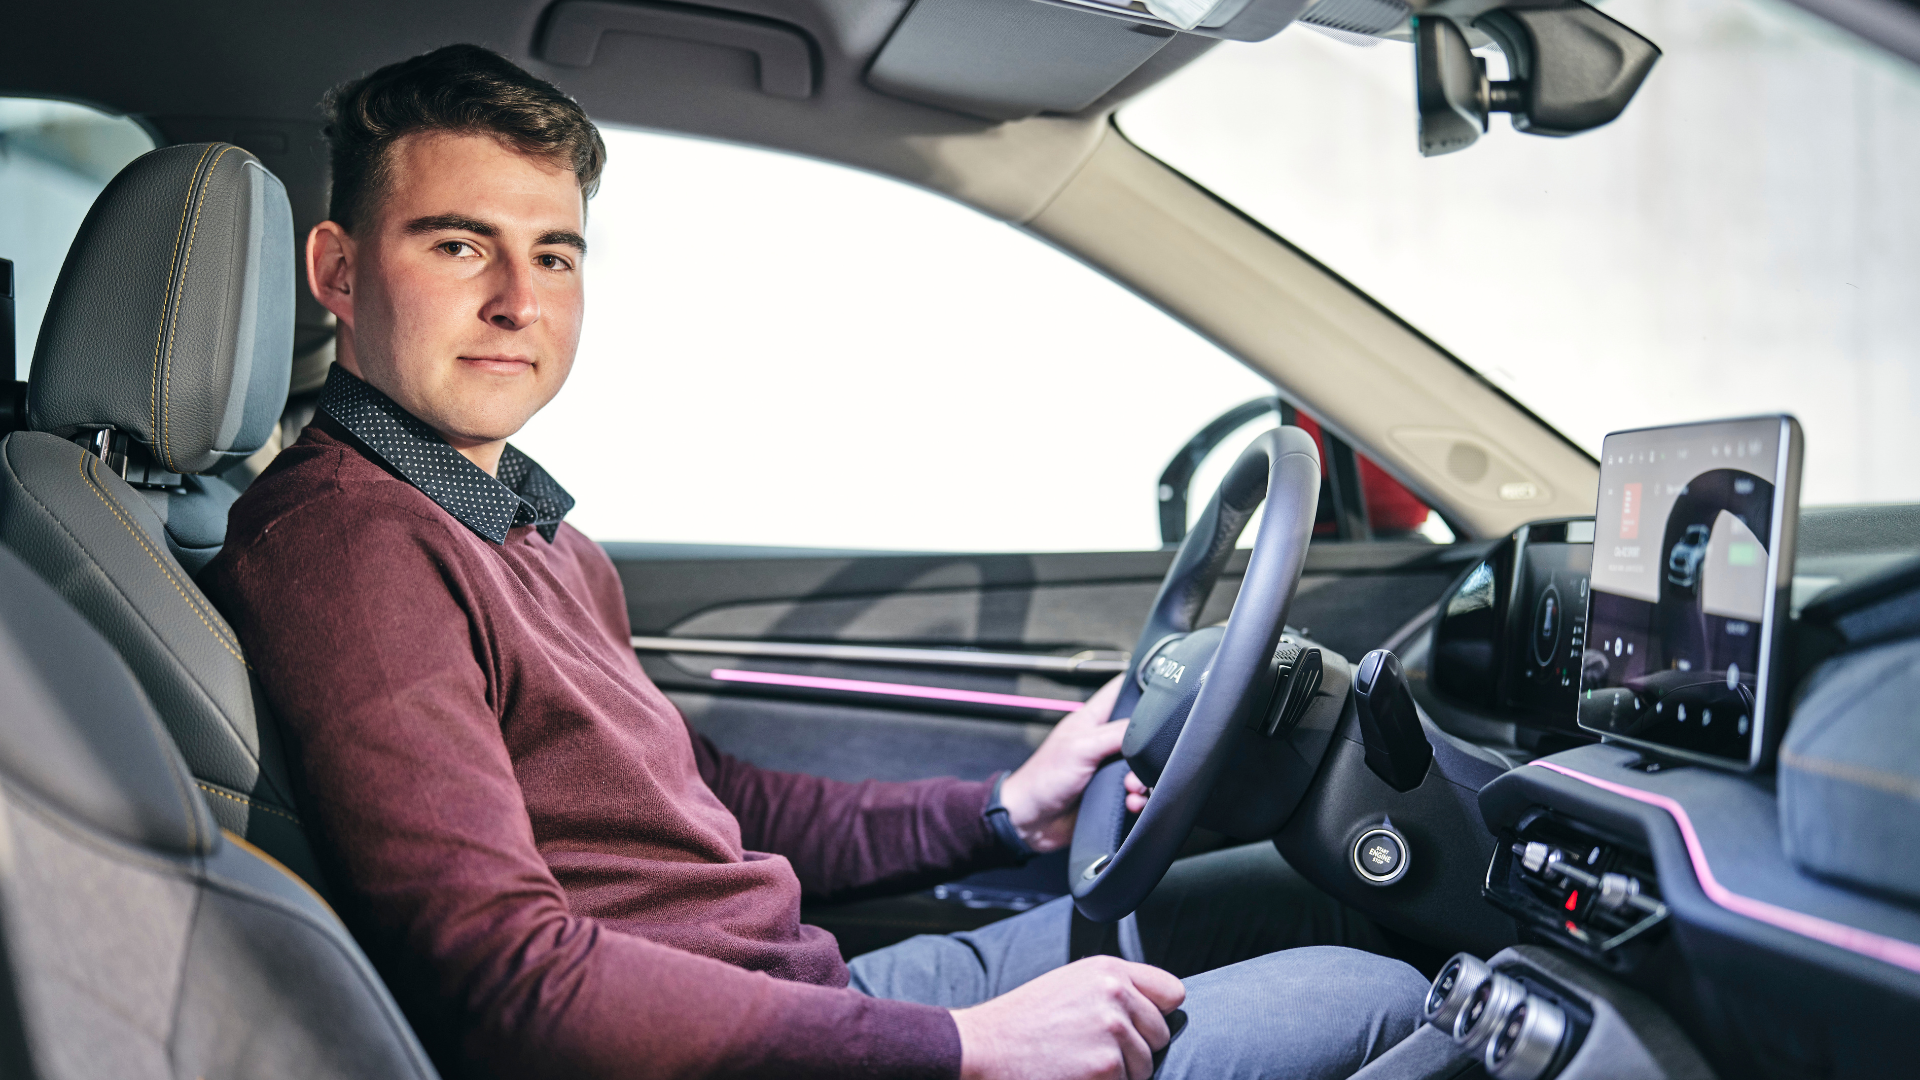
The windows are made of Durofol and where tinting was needed, a simple film was used. The interior has also been meticulously crafted. The structure of each front seat alone consists of dozens of individual cardboard pieces. They are then upholstered with two types of fabric so that everything matches the look of a real sports seat with an integrated headrest from the Kodiaq Sportline model.
The stitching, created simply with thread, is also included: “It was meticulous handwork. I gently dipped the thread in glue and applied it to the seat so that the glue wouldn’t leave a trace anywhere. I couldn’t even use tweezers,” describes Petr Seemann. The wider edging is made with double thread. Upholstery is also present in other parts of the interior, particularly in the door panels.
Other details have also been meticulously crafted: the door handles, exterior mirrors, windshield wipers; and inside, the head-up display projector unit, Smart Dial controls, air conditioning vents, pedals, and, of course, the three-spoke sport steering wheel. Incidentally, the steering wheel features a detail reflecting the era when the model first went into production: the classic Škoda logo instead of the lettering used today. Another special feature is the car’s license plate which holds personal significance for Petr Seemann. He hasn’t revealed what that is, though.
And which car will he choose for his next model? He says he doesn’t know yet. But after the meeting with representatives from the automaker, it’s likely that it could be another Škoda.
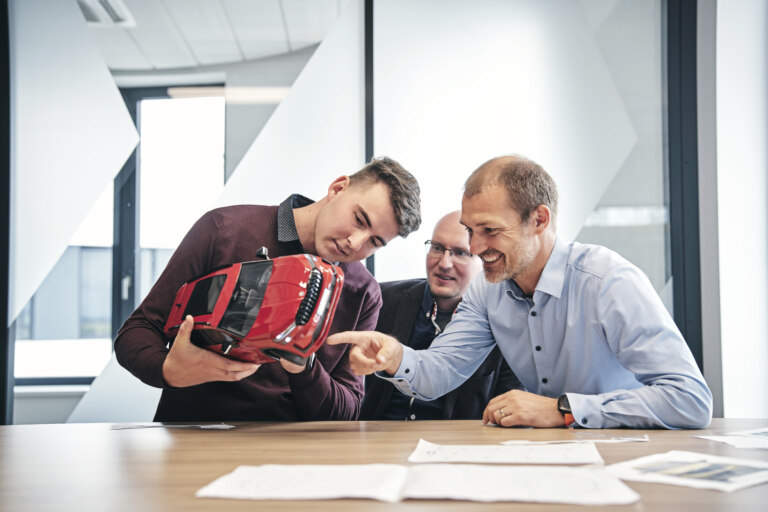
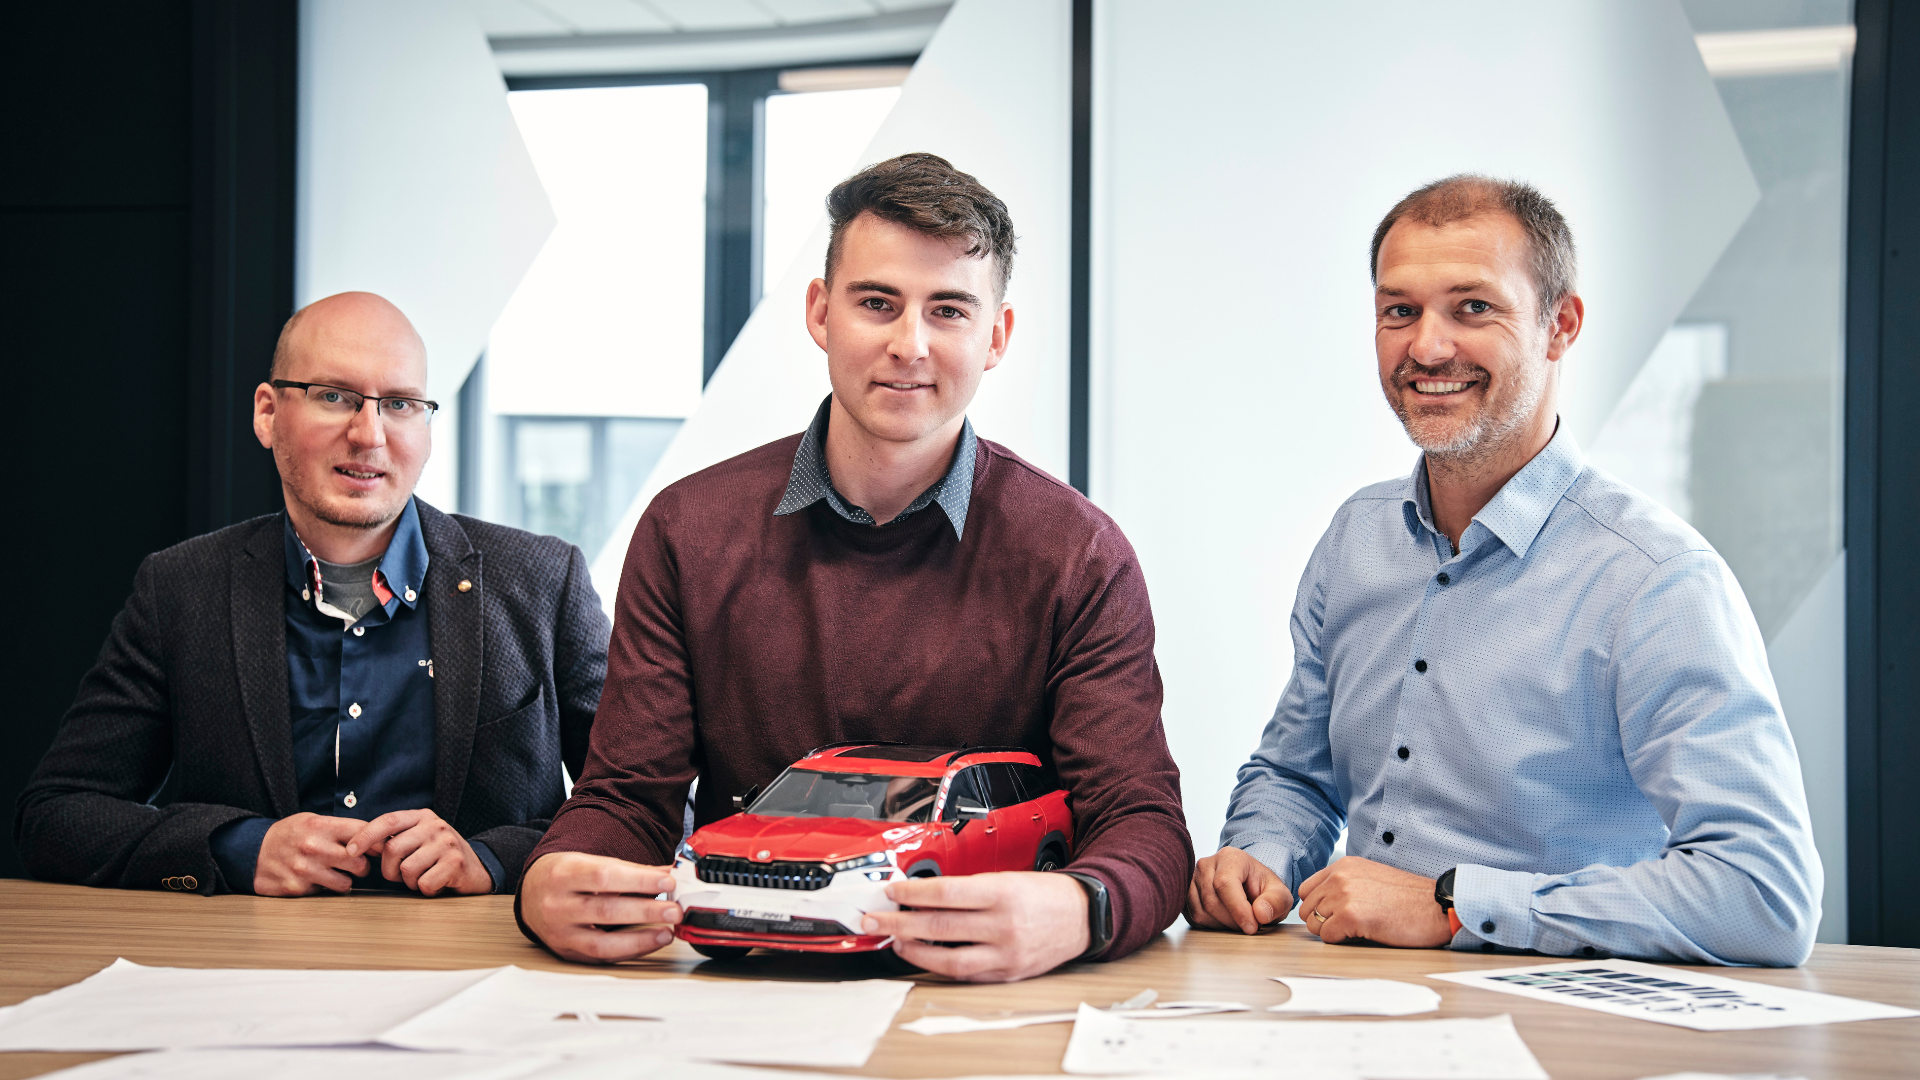 From left: Petr Dvořák from Škoda Auto’s marketing department, model maker Petr Seemann, and Tomáš Douběta from Škoda Auto’s Product Management department
Be the first
to get the latest stories
Explore more

Media Box
12 images
Show more
Show less